YARD PROJECTS 2017
With Spring 2017 fast approaching, it was time to get my chainsaw, leaf
blower, weed trimmer and lawn tractor serviced before the grass cutting
season gets into full swing. I do my own service work on them, unless
I run into some serious trouble beyond my capability and have learned
valuable lessons over the decades to know when to allow that
"common sense" factor to kick
in.......grin if you must!
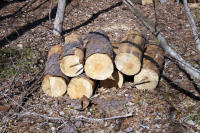
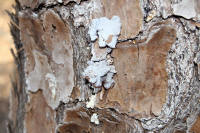
Last year, there were two trees on our property out back that died due
to low rainfall
and insect infestation even though one of them was close to a small branch aka
Culpepper Creek that runs through that area and was bone dry too. A
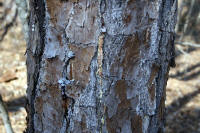
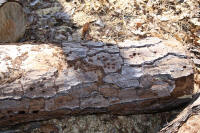
good size pine tree had died and insects were boring holes in it at a very
fast pace. An adjacent tree showed evidence of beetles boring holes in
it also, but it survived the attack with pitch from the tree seeping out.
LAWN TRACTOR MAINTENANCE
My first order of business was to sharpen the lawn tractor blades, change
the oil and filter, clean the air filter and battery terminals along with applying grease to all
the grease fittings. I ordered a replacement in line gas filter which
is due in today being March 4, 2017. Our local John Deere facility
charges about 100 percent above retail for standard service products
mentioned above and the John Deere logo will definitely cost you money.
Internet companies can beat their prices by leaps and bounds and I
definitely don't mind spending less money for the identical same items.
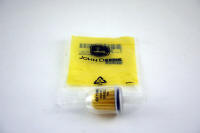
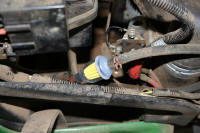
I enjoyed seeing that the John Deere in line fuel filter was made in Israel
instead of China, however America should be able to complete with foreign
countries if we had our import/export tax system to where America could be
competitive in the World market. There was plenty of room on the John
Deere lawn tractor model X300 to have the in line fuel filter located to the
right instead of only a few inches of gas line hose on the left with barely
enough room to access the clamp with a pair of regular pliers. If
product Engineers had to work on some of their designs in the field, I am
sure they would manufacture products more ergonomically designed for easier
accessibility.
For myself personally, company loyalty is a thing of the past, whether it is
purchasing car insurance, home owners insurance, various products and
services, etc., because most vendors know that Senior Citizens do not like
change and they certainly do prey on that knowledge! If you don't
believe that statement, contact Farm Bureau Mutual Insurance Company of
Wadesboro, NC and Jackson Oil Company aka Pee Dee Oil Company of Cheraw, SC
of which I fired both of them within the past two years after using their services for
many decades.
When home owners insurance increases thirty (30) percent in one year and
without never filing a home owners claim, it was time to look for another insurance
company, coupled with the fact of procrastination by the agent to timely
follow up on what he said he would do! Passing the buck to someone
else, doesn't work for me. Anyway, that is my story and I am sticking
to it. I don't sugar coat things; tell it like it is.
Check out my Yard
Projects 2016 page where I have a pix of the lawn tractor
front end hoisted off the ground using the White Oak tree nicknamed
Tom Dooley that has a boat winch
attached a few feet from the base and a pulley attached to one of the lower limbs.
I got a little side tracked as usual there which is par for the course as
evidenced by my other short stories published on this website. Now
back to my story.
CHAINSAW USAGE
With the lawn tractor serviced, the weather was going to be about perfect to
cut the two trees down. The last time I used my vintage 1999 Husqvarna
55 Rancher model chainsaw was on 09-06-16
to remove a diseased crab
apple tree and the chainsaw worked without
a problem then. Before storing the chainsaw in my basement woodworking
shop, I remove the gas from the tank and then start the engine and allow
what gas that is left in the line/carburetor to run out.
I placed fresh gas/oil mixture in the chainsaw and filled the chainsaw oil
tank and tried to start the engine. I could not get the chainsaw to
fire and decided to take it down and see what I could find. I also
noticed when I checked the chainsaw chain tension, the chain tension
adjuster was missing. Our two local dealers did not have a replacement
part and had to go to plan B and use a 10-32 TPI screw that was 2 inches in
length to get me by until I could order a replacement part. I
basically did all I knew how to do to ascertain if the spark plug was
getting any fire, of which I didn't see any visible spark after removing the
plug and grounding it to the saw metal frame. The air filter was
extremely dirty and replaced it with a new one. I figured it was
probably a bad coil. Upon checking the coil with my volt ohm meter, it was
showing a short to ground, however after checking it again later with the
ohm scale set at the 200 x ohm setting, I did see 1.1K ohms of
resistance which was about normal, therefore the coil should be good.
I took the wire loose to the kill engine switch and checked the switch which
was showing good. I put the plug back and sprayed starting fluid into
the carburetor, since I didn't see any gas running out with all the pulling
of the starter cord, of which there should have been a heavy gas smell and
gas leaking from the exhaust port. It would not start with the starting
fluid and still figured it was a bad coil. I waited until dark and
removed the plug wire and grounded the spark plug to the metal saw frame and
pulled the starter cord and observed a fairly good arc between the
electrodes and that told me I had enough fire to probably start the engine.
The next day, I tried to crank the chainsaw again and after about 10 or 20
pulls, it fired and then closed the choke and pulled the starter cord again
and finally got it to run. In all probability, I had it flooded from
the start and/or the carburetor was clogged. I walked to the trees with the chainsaw;
about 50 yards more or less with the chainsaw running, being very
careful since that is definitely not the safest thing to do but wanted to
keep the chainsaw running and get those two trees on the ground.
Everything went as planned and dropped the two trees exactly where they
needed to be. I only had about one-half tank of gas or less in the
chainsaw and refilled it and it fired right up.
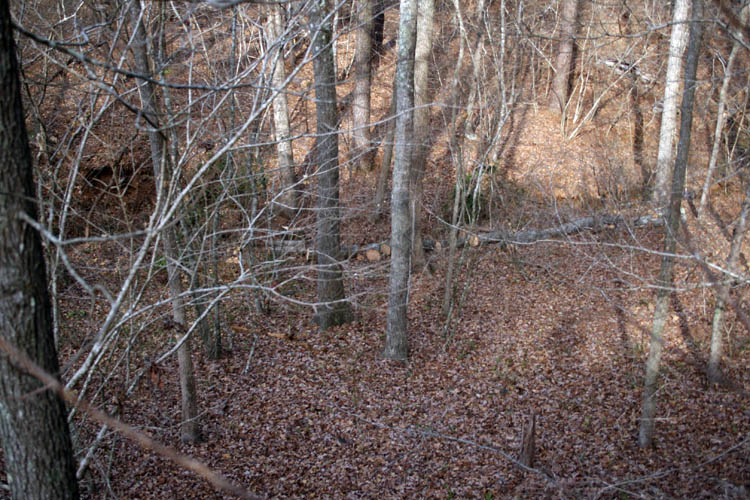
Below, a closer view of the area.
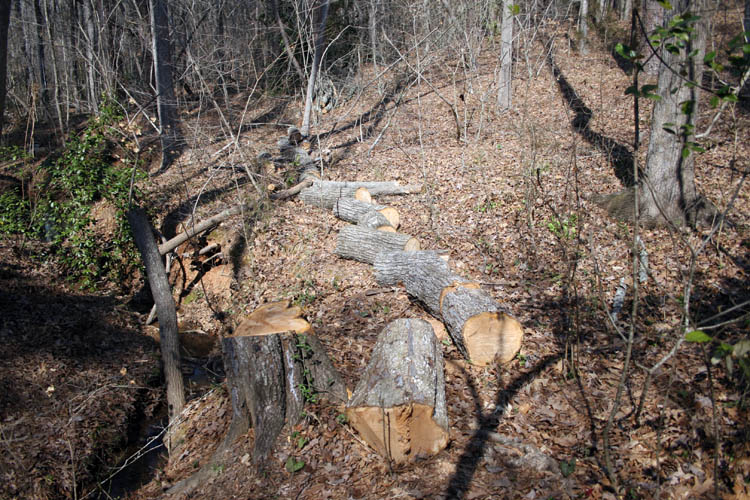
Above is the Willow Oak and it was hard as a rock being party dried out.
This tree is located where you cannot drive a four wheeler to it without
removing some small trees in places and would have to manually bring out each piece of
heavy log in order to utilize it for firewood. I might do that come
Spring, but it would be a dawg to manually split as well. We do not
burn wood and I hate to see good wood go to waste when someone could utilize
it. I will have to make a few calls and see what I can come up with.
I believe, I placed the wedge cut from the tree back on top of the stump for
whatever reason. My critics will notice the angle of the cut in the
direction that the tree fell right off the bat and try
and figure how the tree fell in the direction that it did.
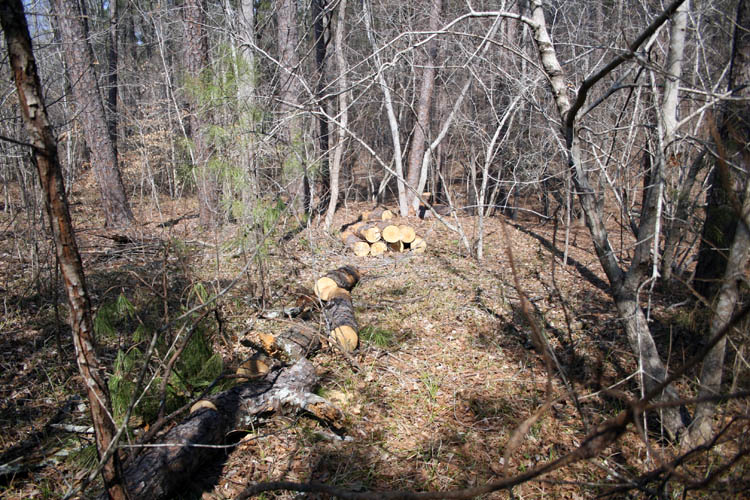
The pine tree cut like butter and light enough in weight to open up the trail that
the deer use to come to my feeding station. Want to make it as easy
for them as possible since I do enjoy good venison!
CHAINSAW MAINTENANCE
Upon checking the chainsaw when I had the covers removed, I noticed that the
chain drive sprocket was somewhat worn and ordered an Original Equipment
Manufacturer's (OEM) part manufactured by Oregon and also purchased a new
spark plug. The original spark plug was made by Champion being a RCJ 7Y,
of which is no longer made. A replacement for it is a NGK BPMR7A.
On March 4, 2017 with the two replacement parts in hand, I took the saw
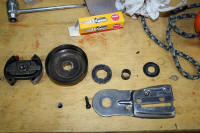
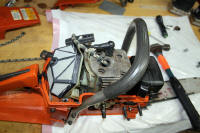
apart to install the chain drive sprocket and below are pixs taken. I also
put fresh grease on the spline of the oiler (pump) shaft and clutch sprocket needle bearings while I had the
parts out. I removed most of the accumulated oil and grease and wiped the
parts clean. I did not do any pressure washing to the saw....I will
leave that to the pros, since I do not own a pressure washer.
Below are pixs taken and not in sequential order, since I had my hands
pretty greasy from the cleaning and my camera is not in need of that type of
lubrication.....grin if you must!
Click on thumbnail pixs for a larger screen view with narrative below:
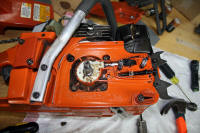
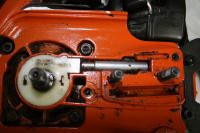
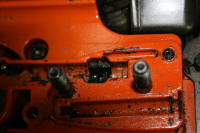
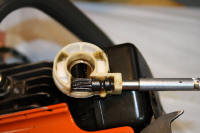
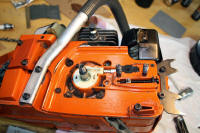
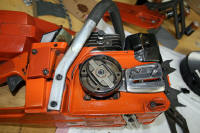
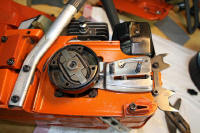
After removing the top cover of the chainsaw, the spark plug was removed
and a small nylon cord was placed into the plug hole (cylinder) and pulled
the starter cord until the piston was top dead center (TDC) trapping
the nylon cord between the piston and top of the cylinder wall. The
side cover was removed along with the chain and chain bar. The clutch
drum was removed by rotating the the piston to top dead center (TDC)
as mentioned above and using a flathead screwdriver and hammer, placed the
screwdriver onto one of the flat surfaces on the right side of the clutch
and gave it a good blow. The threads are left hand and you have to
rotate the clutch to the right (clockwise) to loosen it off the drive shaft.
Once the clutch is screwed off, you remove the clutch drum, drive sprocket,
needle bearings and flat washer. You then remove the plate that
contains the chain tension adjuster which is covering the oiler pump
assembly. Only one socket head head bolt secures the cover plate to the saw body, of which
there is a hole that the shaft goes through the cover plate to keep it in alignment.
After those parts were removed, all the parts and saw metal housing assembly
were cleaned of excess oil and sawdust, etc.
The oiler gear spline was cleaned and fresh bearing grease was applied
and the oiler put back into place. The needle bearings of the
clutch/chain drive sprocket were cleaned and fresh grease applied and the
worn chain drive sprocket
was replaced.
After the parts were reassembled, the chain bar and chain were put back
into position and secured the side housing with two nuts. The chain
tension was adjusted using the chain adjuster screw that was replaced earlier and
final tightening of the bar nuts to secure the chain and bar.
The cord was removed from the spark plug hole, new plug was installed
which had about a .020 inch gap; plug wire attached to the spark plug and top
cover housing was put back in place and secured with three Phillips head
screws.
Fresh gas was placed in the gas tank; there was enough oil in the oilier
tank. Made sure the stop engine switch was in the run position.
Choke was pulled out and several short pulls on the starter cord to get gas
into the carburetor and the moment of truth. I pulled the starter cord
a couple times and the engine started to fire right away. Pushed the choke lever back into the housing
and a pull or two, the engine started and ran very well.
Drained the gasoline from the tank, fired the chainsaw back up and
allowed the gas in the carburetor to be nearly used up. The chainsaw
was stored for later usage when needed.
LEAF BLOWER MAINTENANCE
With the chainsaw running like it should, I could not get my Husqvarna
leaf blower to fire after checking it over.....the piston has a large build
up of carbon on it and the side walls look like they are burned. I
don't think I have run it with gas without a mixture of oil, but that is
entirely possible. I used it last season and it was very hard to start
then. I might spend forty-five (45) bucks to have it looked at to
ascertain if it is feasible to repair. I will probably replace it with
a smaller hand held unit since I only use one for blowing leaves and debris
off the front porch, car port and deck.
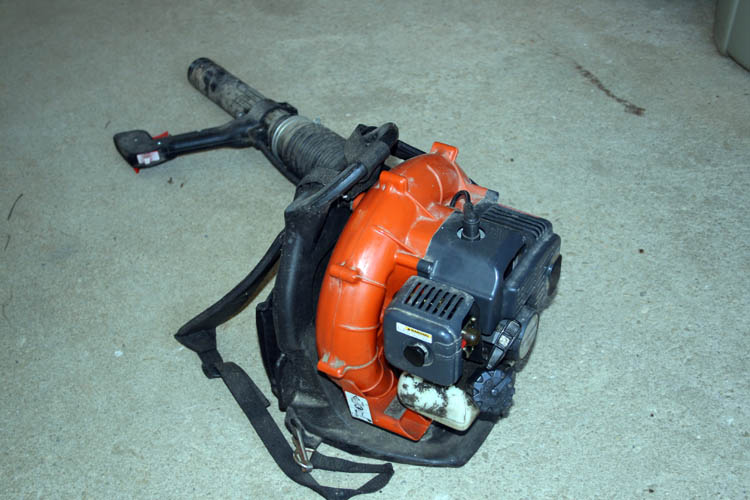
Before I take the leaf blower to a pro-shop, I plan to give it one more
once over and see if I can get it to fire.....I don't like to let a project
"beat this ole boy down".......another
grin if you must! Maybe I can get it running and use one of lines from
the movie, The Outlaw Josie Whales; "We whopped
again Josie."
WE WHOPPED AGAIN JOSIE
A few days ago, I purchased a couple spare spark
plugs; one for the leaf blower and one for the Stihl FS 70 weed trimmer.
I installed a new plug in the leaf blower and it tried to fire. After
figuring out that it didn't want to run unless the throttle was locked in the
wide open position, it was no trouble to get the engine to fire and run.
The carburetor low idle adjustment was set too low preventing it from
running once it fired.
I ran half a tank of gas through the leaf blower
and it worked fine. Added fuel to it and fired it up again before
storing it.
Web page updated by Bill aka Mickey Porter on
03-22-2017.
LEAVING ON A POSITIVE NOTE
I checked over my Stihl FS-70 RC weed trimmer and it definitely needs a new air
filter. I blew debris off the air filter and washed it in hot soapy
water; let it air dry and placed it back on the carburetor. I blew
debris off the housing and fins and cleaned the housing up pretty good.
It fired after several pulls and runs fair but it never has run as smooth
as the Robin commercial weed trimmer that I used for at least twenty (20)
years before it bit the dust; probably a bad diaphragm in the carburetor and
no replacement parts for that model locally.....that was one sweet and easy
starting and running machine. Robin sold out and I believe Subaru owns
them and they now make 4 cycle engines instead of two cycle (oil/gas
mixture) models.
I got over twenty (20) plus years from a Troy Bilt lawn tractor and it is
still running today being used by our eldest daughter Laura.
I have never been happy with the Stihl weed trimmer but it will get the
job done. I just don't like all the vibration that it possesses.
I will get a new spark plug, air and gas tank filter and air filter to keep it in tip top shape.
In a few weeks, I plan to aerate the front, side and back yards,
broadcast grass seed and fertilizer to get the yards jump started and hope
to get some much needed rain in the process.
This sounds like the making for more work, but I like what the Apostle
Paul said about work in 2 Thessalonians 3:10 KJV "For even when we
were with you, this we commanded you, that if any would not work, neither
should he eat."
God richly bless each and every one of you!
Web published by Bill aka Mickey Porter on 03-04-17.
AERATED THE YARD
The weather prophets forecast rain and/or snow for March 12, 2017,
therefore got busy removing plugs from the soil with the aerator several
days earlier in order to get fertilizer broadcast along with Fescue 31 and
Bermuda grass seeds.
Well, it was perfect timing since we got about three (3) inches of
snow on the
morning of March 12, 2017 and there is more rain in the forecast for late
this afternoon, being the 13th.
Hopefully, all the fertilizer will get melted and absorbed into the hard
packed red clay soil and the grass seeds will later germinate, but it is a
little cold this week for the seeds to spring forth any time soon.
TROYBILT PONY TILLER
One of my friends here in Wadesboro, NC Calvin Jones who has his home up
for sale (pending sale) and I asked him if he decided to sell his Troybilt Pony tiller to
give me first dibs at it and he agreed. A couple days ago, he advised
me the realtor had a buyer for his home and asked if I still wanted the
tiller. I advised him that I did and he gave me a most generous offer
for it and I accepted.
Calvin, brought the tiller over on 03-22-2017 and we unloaded it and he
gave me a quick operating course. The tiller is a small Troybilt Pony model, 5
HP with an electric start and it started and ran very well. This
tiller will definitely get some usage around our home.
Below is a pix of Calvin Jones; I caught him off guard checking his new
Nikon D5600 DSLR 24 mega pixel camera out.
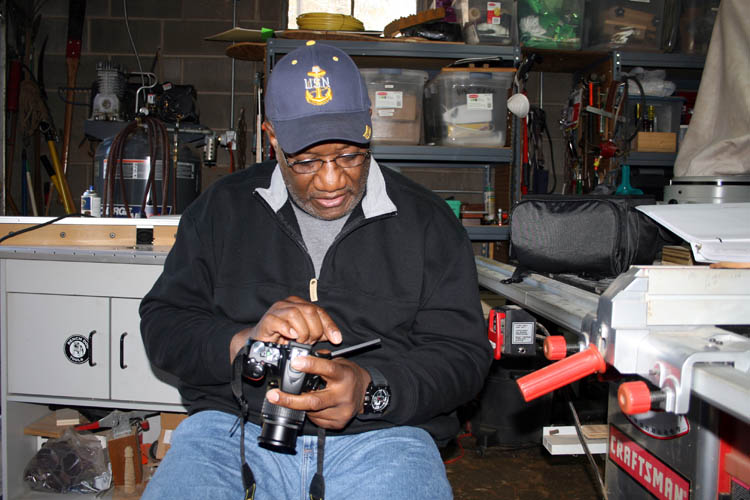
Mr. C. busted me taking the pix and cracked a big grin on the next pix
taken:

We went over a few things about his new camera and we figured out three
(3) operating things and I jokingly told him, "he had accomplished about 3 out of 1000
options for that camera"....we both grinned too! He is going to
download the operating manual for the camera. Calvin takes some
excellent
photos BTW.
TEST TILLING ON 03-23-2017
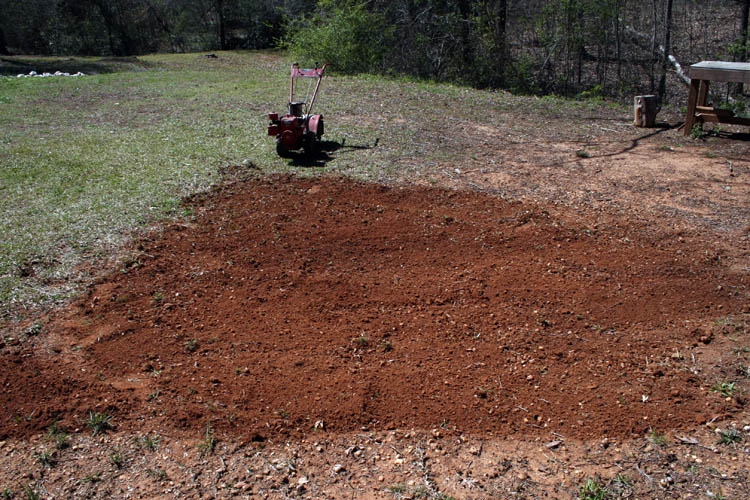
I did a test run till on a bare spot in the back of our home next to a
large White Oak tree I nicknamed
"Tom Dooley" which is where I hang my deer when I skin and
quarter them up. There is a boat winch attached to the tree and a
pulley system allowing myself to hoist up deer....work smarter not harder!
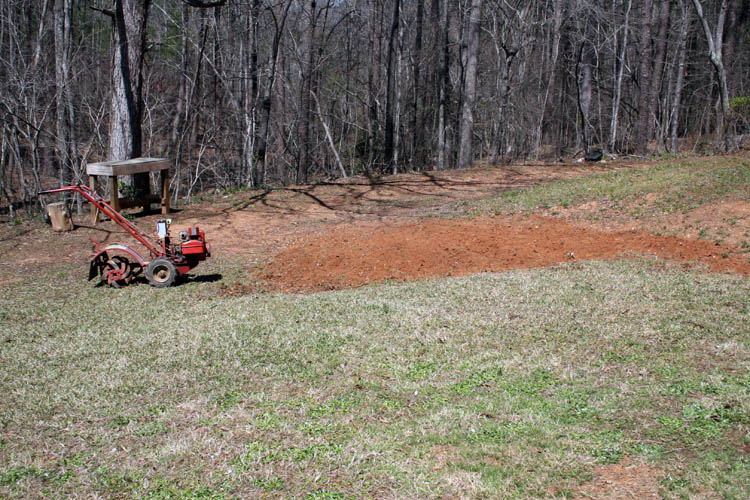
I plan to sew some Bermuda and Fescue 31 grass seeds in a few days, rake
it in with a stiff tined garden rake, cover the area with wheat straw and
saturating with copious amounts of water.
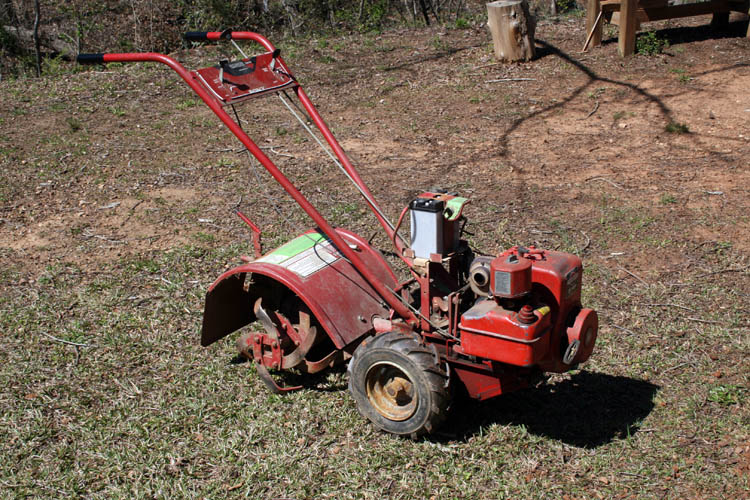
The little Pony tiller chewed up the hard packed red clay and gravel dirk
pretty good. I started out with the tines going too deep into the
ground which the governor would kick in added more power and the tines would come out of the ground and the tiller started
forward like a high dollar thoroughbred race horse coming out of the gate at
the Churchill Downs racetrack in Louisville, Kentucky. I raised the
tines up, of which I should have done at the beginning and it worked great.
This little Pony is all I need for a small vegetable patch and to till up
the yard for planting grass seeds. Back in the middle 1980s, I owned
the much larger Troybilt Horse model and it was a
"hoss" for sure! I sold it to
Blakney Steele of
Casons Old Field, NC of which it was too much machine for him as his health
was beginning to decline and he in turn later resold it as well.
Blakney Steele was my mentor at the Anson Correctional Center when I
worked first shift with him. He was one very tough and firm
Correctional Officer, of which I quickly learned a lot about dealing with
inmates which helped me the rest of my Correctional Career of 33 years.
I miss him and his wife Melba. Melba prepared some wonderful breakfast
meals consisting of home made biscuits, home grown country ham along with
grits that he grew the corn himself and of course eggs and coffee. We
transported the Haney white corn kernels to Horton's Grist Mill near McBee,
SC where it was ground into cornmeal and grits. I have references to
that at this link.
Time waits for no one and thankful for each and every day
our
Lord Jesus Christ allows.
Our weather doesn't accept the fact that Spring is officially here.
It has been super cold the past two to three weeks with the morning lows in
the 20s to the low 30s. This morning it was 32 degrees around 0730
according to the car temperature gauge and around 56 degrees for a high,
which is about normal for the month of February.
I should not complain at all, because February was super mild with temps in
the mid 70s and higher and lows in the 50s for many mornings. In all
probably, much of our peach crop has been damaged by the freezing
temperatures this month since the trees put out buds very early last month and they
can't take but so much freezing weather.
BERMUDA GRASS SEEDS IN THE GROUND
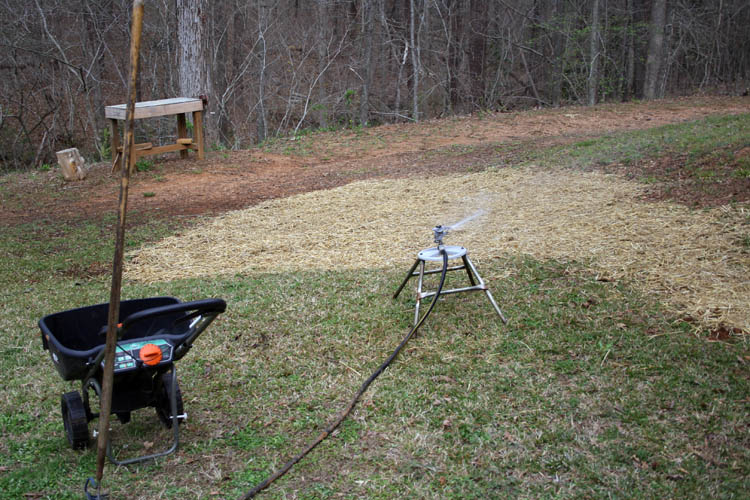
On March 27, 2017, I broadcast Bermuda grass seeds, raked them into the tilled
soil, covered with wheat straw and saturating with water as I type.
GRAPH BELOW OF THE HIGHS AND LOWS FOR FEBRUARY

TILLER STARTER CLUTCH MAINTENANCE
I noticed that the starter clutch was not dis-engaging properly (overrunning) and did
several
YouTube views of folks that had cleaned and/or replaced the starter
clutch on the Briggs and Stratton 5HP engine. It looked fairly simple
and decided I would pull the starter clutch off the tiller.
This particular older model has three 7/16 inch hex head bolts that hold the
cowling to the engine which contains the pull cord, pulley and spring which
the pulley fits onto the ratchet shaft of the starter clutch assembly.
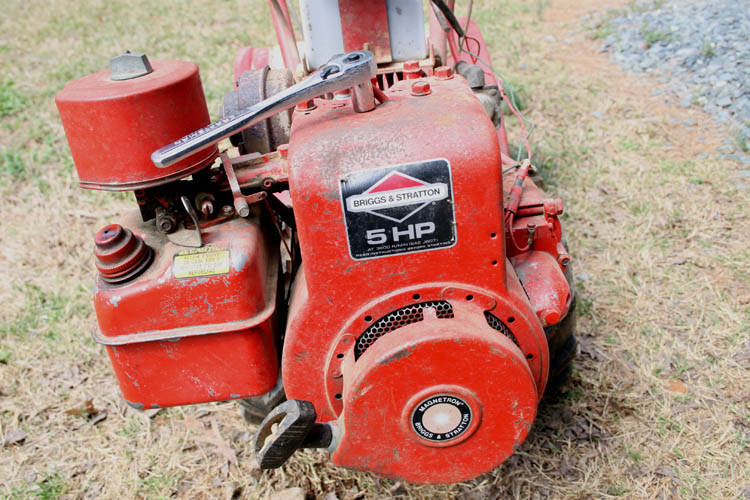
After removing the three 7/16 inch hex head bolts, one on the top and two
on each side of the cowling, the cowling pulls straight forward away from
the engine. I did notice that the right 7/16 inch hex head bolt was
not pulled down tight because someone had cross threaded the bolt. I
later cut fresh threads with a standard 1/4 x 20 tpi tap using some light
lubricating oil.
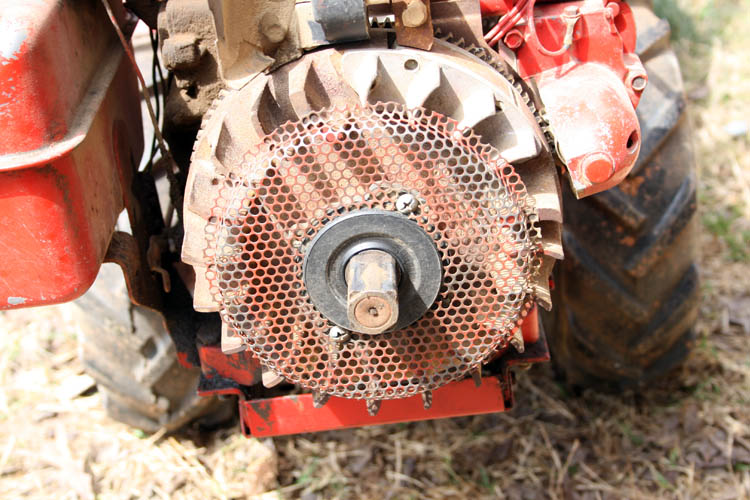
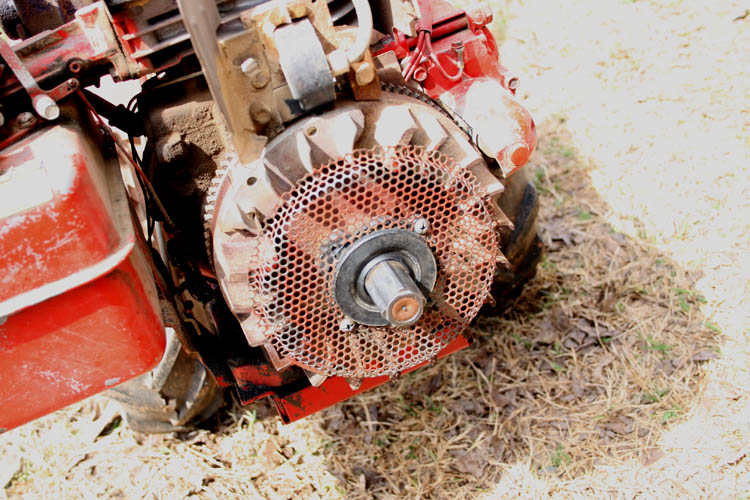
In the above pix, the only thing that holds the metal/plastic gasket in
place is two small screws with the screen also catching the edge of the
gasket. If you desire to remove the entire clutch assembly, you have
to wedge a large screwdriver or flat pry bar between the fins of the
flywheel but you can risk breaking one of the fins if you are too
aggressive, since you have to try and spin the clutch assembly housing
counter clockwise since the horizontal engine shaft is spinning clockwise.
Pix below of the screen removed from the flywheel:
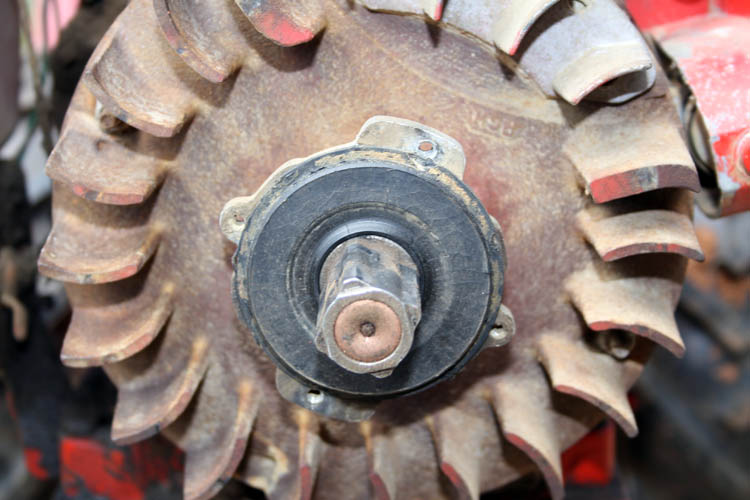
I started to remove the entire starter clutch assembly but the gasket
detached from the clutch housing and a few of the ball bearings rolled onto
the ground, therefore I proceeded to clean the clutch housing, ratchet
assembly and ball bearings without removing the clutch assembly housing.
The below pix shows the clutch assembly with the six ball bearings
removed.
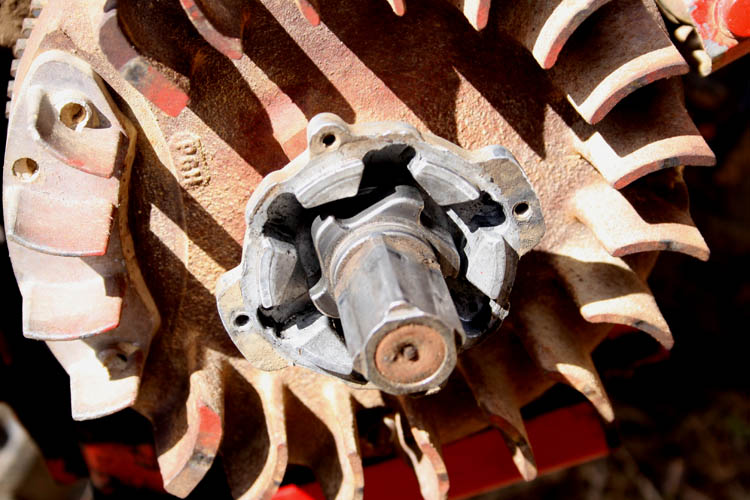
Pix of the ratchet and ball bearings ready for cleaning. I used a
paper towel and Remington Teflon gun oil to remove and grease and/or gunk.
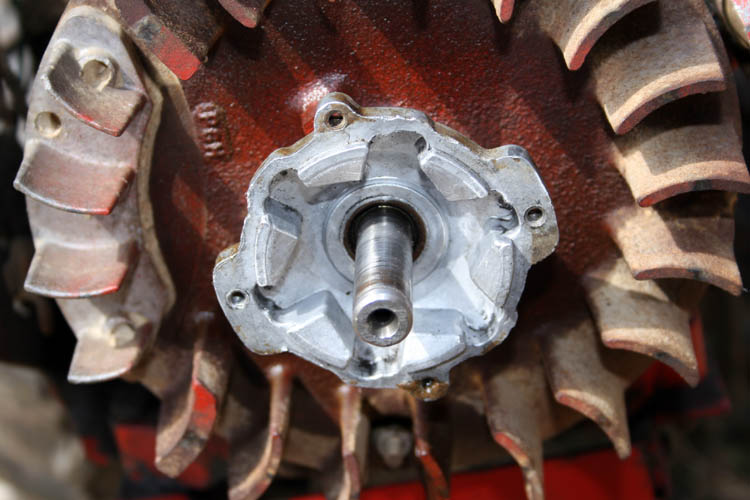
The above pix shows the engine horizontal shaft with the ratchet and ball
bearings removed. I sprayed the clutch housing down very good with the
Remington Teflon oil and cleaned it with a paper towel. The shaft has
a little scaring and rust on it and polished it up with 600 grit automotive
wet/dry paper and it was "slick as an eel."
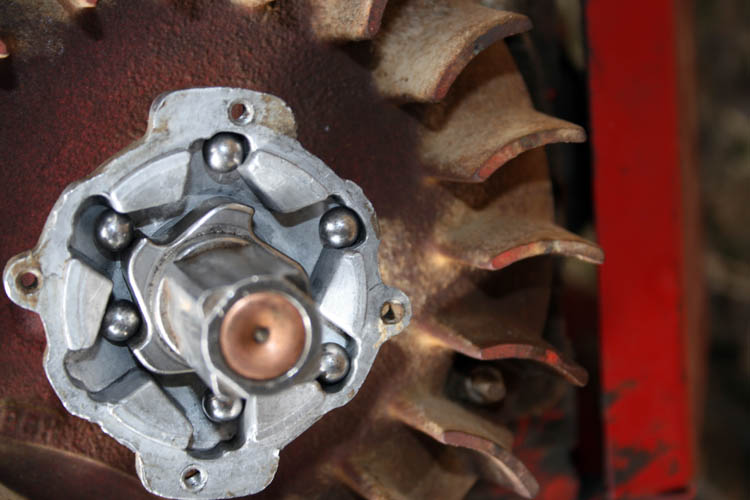
I also polished the inside of the ratchet that fits onto the horizontal
engine shaft with the 600 grit paper and a 3/8 inch wooden dowel with the
paper wrapped around it. I used the air hose to blow everything clean
and lightly lubed the clutch shaft where the ratchet rides on. The
ball bearings were put back into place, the outside cover aka metal/rubber
gasket was placed onto the clutch housing, attached the screen in place with
the two Phillip head screws and replaced the cowling assembly onto the
engine. Below pix with the cowling ready to be installed.
The starter clutch works because of
centrifugal force. When you
pull the engine starter pull cord, one or more of the ball bearings will
engine the ratchet, whereby securing the ratchet to the clutch housing which
in turn is secured to the flywheel and engine shaft causing the flywheel to turn. Once the engine
starts, centrifugal force causes the six ball bearings to go to the outside
of the clutch housing, whereby they will not engage the notches on the
ratchet assembly which is connected to the pull cord pulley and the engine
shaft will spin freely inside the ratchet assembly.
I should have included a pix of the starter pull cord assembly which has
a plastic bushing that matches the four protrusions on the outside of the metal ratchet
shaft assembly of
the starter clutch.
When dust and/or dirt or grease gets inside the starter clutch housing or
the engine shaft of the clutch assembly gets rusty or dirty, it cause the
ratchet to not spin freely and one or more of the ball bearings will engine
the ratchet and if the engine is running fast, it was cause a high pitched
squeal turning the engine start pull cord pulley which can damage the pull cord
assembly.
I fired the tiller up a few times and the clutch did not squeal!
Next on the to do list, get some tomato plants in the ground!
A FEW TOMATO PLANTS IN THE GROUND
I worked up the dirt between bushes on the side of the carport for some
tomato plants. I raked the weeds, broke the ground up with a round
point shovel, added 10-10-10 fertilizer and Epson salt. After mixing
it up well, I soaked the ground with regular tap water and let it set a few
hours.
Earlier in the day, I purchased eight tomato plants, of which three were
Cherokee Purple Heirlooms, Cherry Tomatoes and don't remember what the third
variety was.
I got them planted, but need to relocate two or three of them to another
bed since they are too close together. I got the ole Troybilt Pony
tiller fired up and tilled a small bed at the rear of the open carport
adding potting soil and 10-10-10 fertilizer. It was getting late and
will water the area tomorrow and relocate a few of the tomato plants in that
bed on Monday and have room for a few more tomato plants.
Web published update by Bill aka Mickey Porter on 04-01-17.
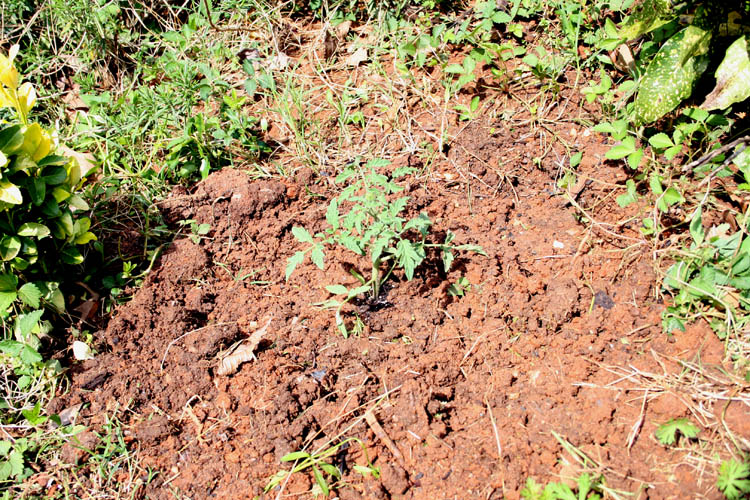
COLD SNAP FORECAST FOR 04-08-17 MORNING
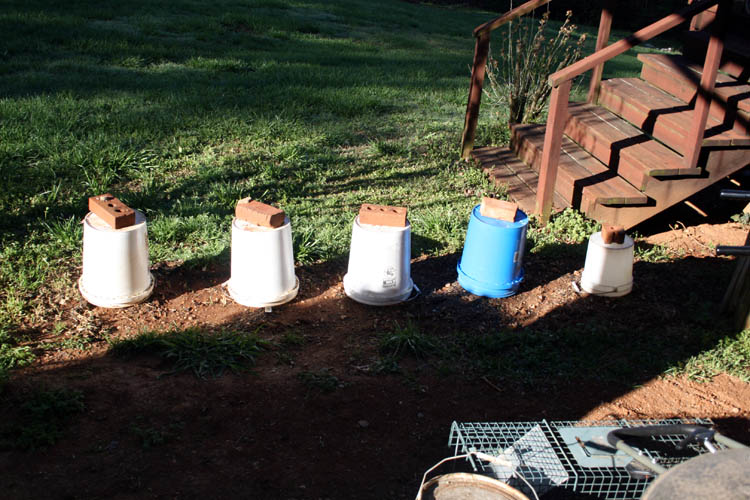
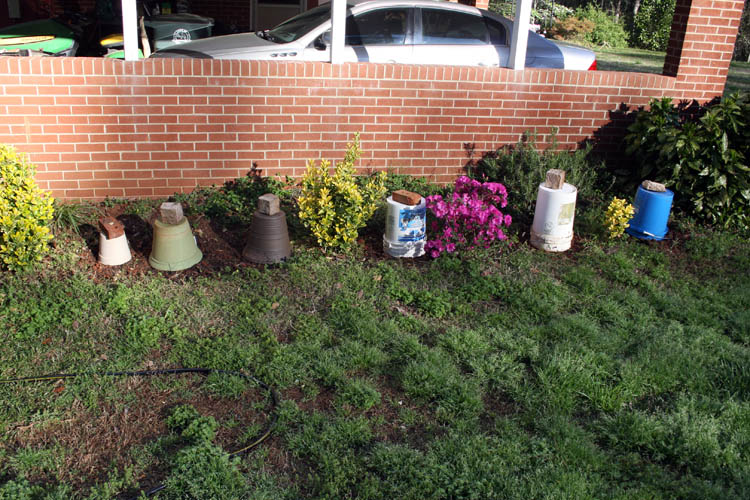
Our weather prognosticators, forecast low temperatures near freezing for
the morning of April 8, 2017, therefore I got out some buckets, old plant
containers, etc., to shield them overnight just in case the temperature did
get down around freezing. Below a pix or two of the tomato plants in their
cocoons!
MORE BERMUDA GRASS SEEDS INTO THE GROUND
Today being April 3, 2017 was overcast and fairly cool, therefore I got
the Troybilt Pony tiller going and tilled up a few spare grass spots in the
front yard for sowing some Bermuda grass seeds.
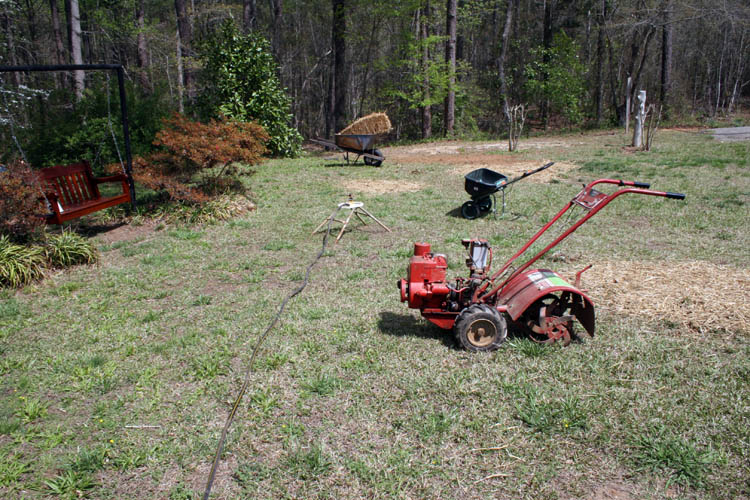
It didn't take very long for the Troybilt Pony to chew up the hard packed
red clay like he was eating hay while in his barn stall.......grin if you
must! The soil in our yard would probably be better used for making
pottery than growing grass and/or weeds. The grass is just beginning
to green up some and very sparse green color as of yet.
I got the Bermuda grass seeds broadcast using a Scott seed spreader and
had the setting on the number 2 if memory is correct. I then raked the
seeds into the dirt and covered the three areas with wheat straw. I
got another water sprinkler set up and saturated the areas real well with
water. We have rain in the forecast this afternoon so that will be an
added bonus with God sent rain.
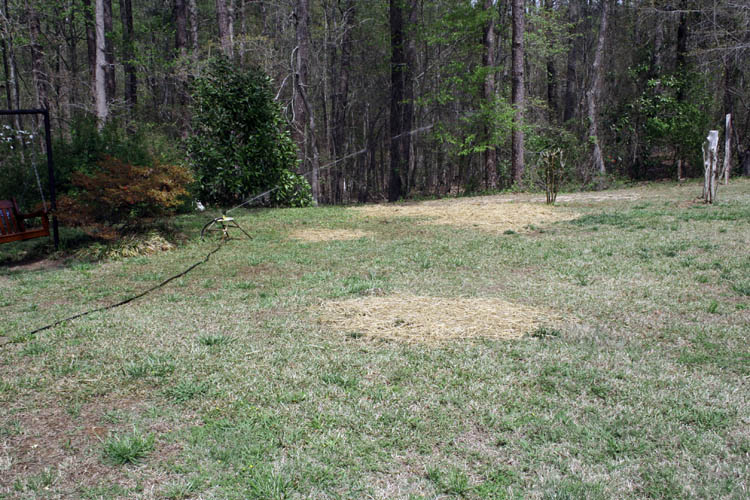
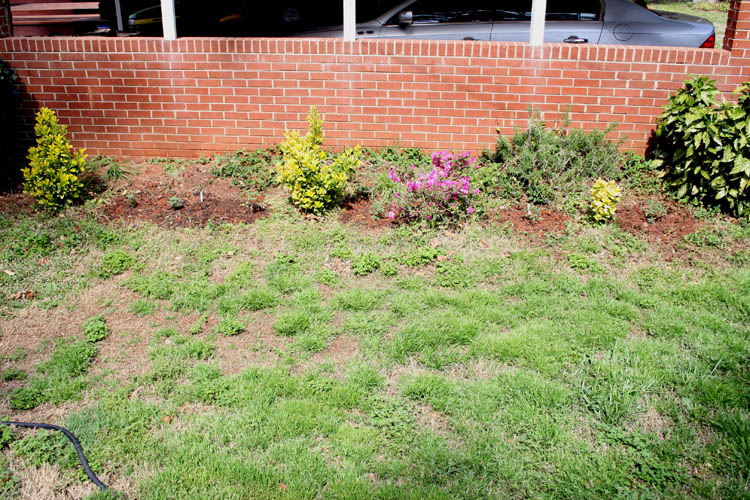
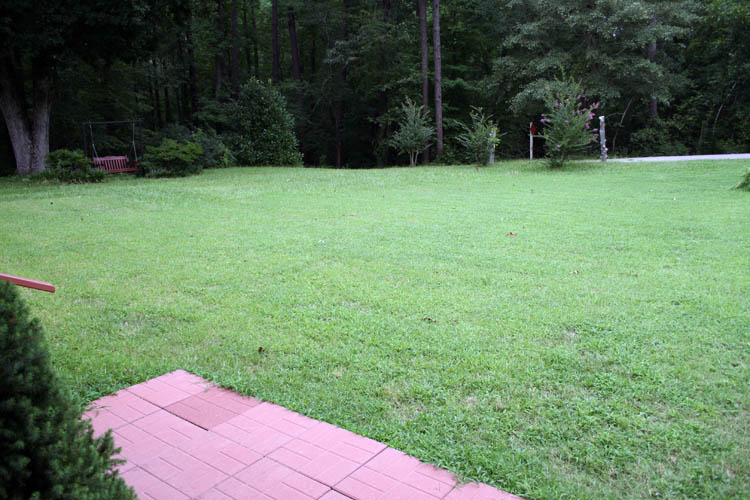
Below pix taken on July 24, 2017 of the approx. same area.
JUST A SWINGIN
While getting the lawn ready, I brought out our yard aka
hanging porch swing
that I had applied a fresh coat of Marine Spar Varnish and it has been
curing out in my basement woodworking shop for a few weeks. I usually
bring the swing in each year around November when it gets too cold to sit
out side and enjoy swinging aka swingin as the singer
John Anderson had a good country hit song way back when.
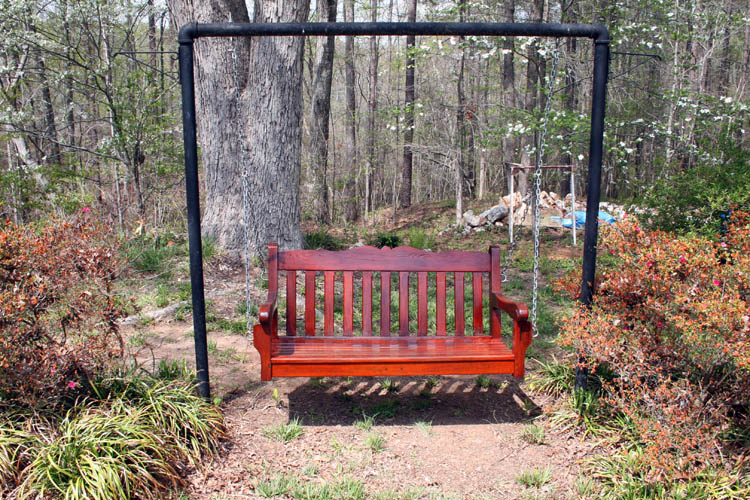
My bride and myself have really enjoyed that swing very much when the
weather is conducive to sit and swing, whereby enjoying the beauty all
around us; watching, listening and observing nature and being appreciative
of what God our Creator has done for all of us.
I believe I need to put my level on the swing seat, since the left side
appears to be higher than the right side and readjust the main chain length
to level it up. I know, I get the same way when I see a picture frame
that is tilted too......grin if you must!
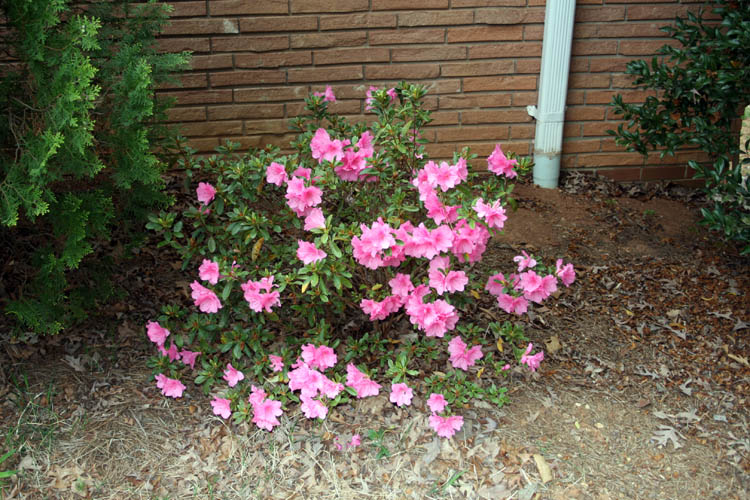
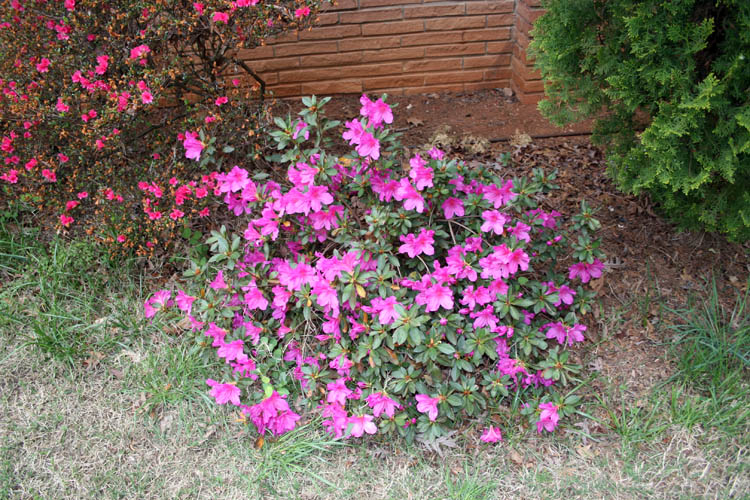
A FEW BLOSSOM IN THE YARD
Since, my camera was close at hand, I took a few pixs of Dogwood and
three different types of Azalea blossoms doing their thing. I used my
standard 18-55MM zoom Canon lens, however the 60MM Macro lens would have
been better, but the pixs are still ok, in my humble opinion.
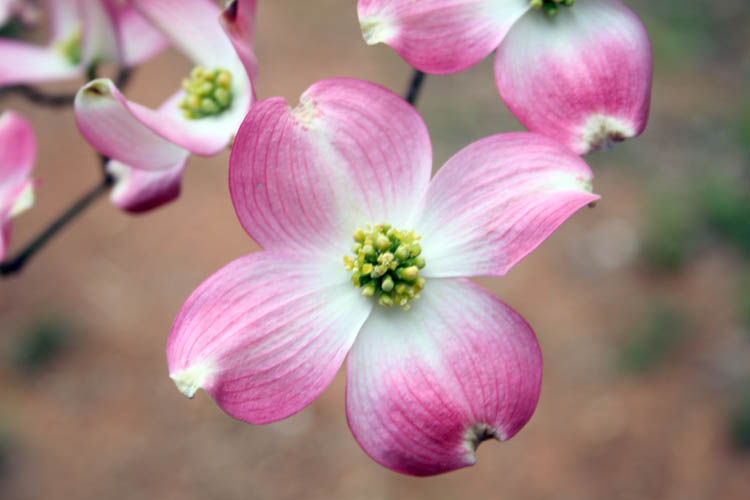
Pink Dogwood blossoms above. The reddish color reminds me of the
shed blood of Jesus Christ on the
Cross at Calvary, where he gave his Life,
that we could all be saved by his shed blood. Throughout the Old
Testament in the Bible, all the blood sacrifices performed were a type of
the coming Christ of which those animal sacrifices could only cover the sins
of mankind, but only the shed blood of Jesus Christ will cleanse us from our
sins.
Open this
link to read Bible verses related to the
Blood of Jesus.
Open this
link to read Bible verses about sacrifice.



Web published update by Bill aka Mickey Porter on 04-03-17.
Web published updates by Bill aka Mickey Porter on 03-13-17, 03-22-17,
03-23-17, 03-25-17, 03-27-17, 04-01-17, 04-03-17 and 04-08-17.
HOME GROWN TOMATOES UPDATE
Today is July 13, 2017 and we have really been enjoying our home grown
tomatoes the past few weeks. We have consumed a good number of
BLTs,
Club sandwiches
and just regular Tomato aka
"Mater" sandwiches.
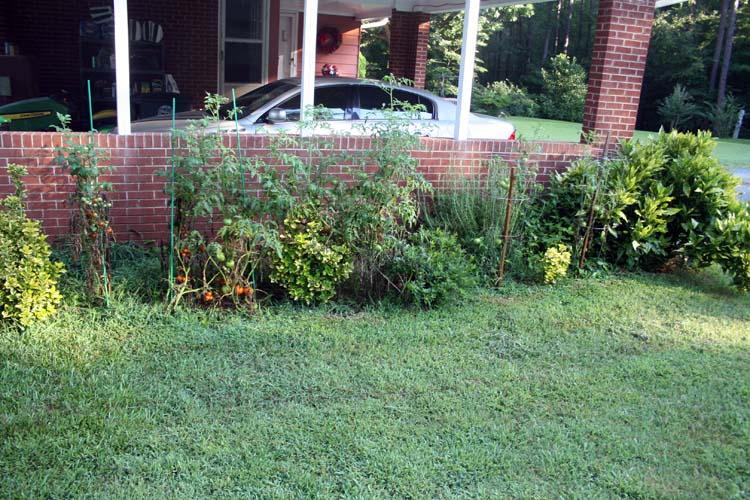
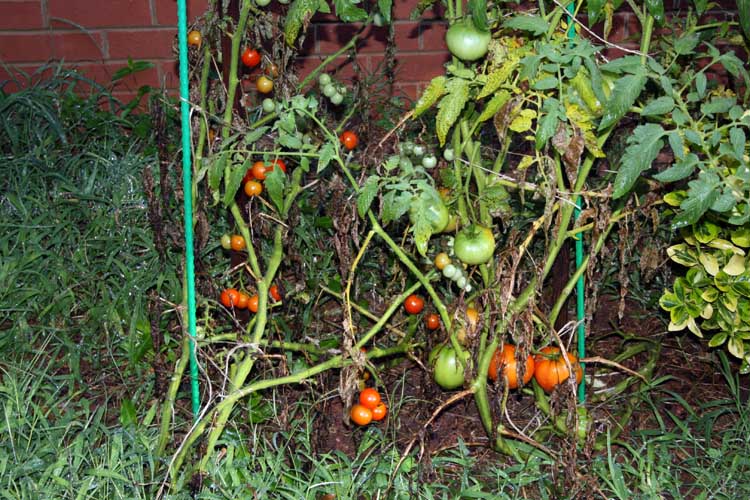
Those Cherry and Grape tomatoes have wonderful flavor too!
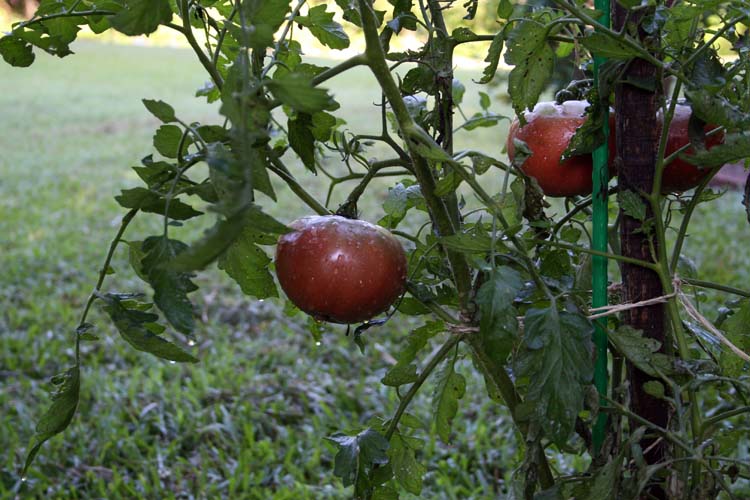
I believe the tomatoes above are the Cherokee Purple Heirloom tomatoes
and they are delicious!
FALL AERATION, FERTILIZATION AND GRASS SEEDING
I timed aerating the yard, putting down fertilizer, lime and over seeding
the grass right on time September 5, 2017. We got several good
light rains that week and Hurricane Irma left some two or three days misting
and soaking rains which dissolved the aerated soil clumps and fertilizer.
I put some fresh pine straw underneath and around our Azalea bushes which
should help with weed control and hold in the moisture.
One of my friends stated that I needed to sharpen my lawn tractor blades
for next year and that I was just creating more work for myself. I
don't think he is as domesticated as myself.....grin if you must!
Web page updated by Bill aka Mickey Porter on 07-13-17, 07-28-17 and
09-13-17.
LEAVING ON A
SPIRITUAL NOTE
If you do not know Jesus Christ as your Lord and Savior, please take
this moment to accept him by Faith into your Life, whereby Salvation
will be attained.
Ephesians 2:8 - 2:9 8 For by grace are ye saved through
faith; and that not of yourselves: [it is] the gift of God: 9 Not of
works, lest any man should boast.
Hebrews 11:1 “Now faith is the substance of things hoped for,
the evidence of things not seen.”
Romans 10:17 “So then faith cometh by hearing, and hearing by
the word of God.”
Open this
link about faith in the King James
Bible.
Romans 10:9 “That if thou shalt confess with thy mouth the
Lord Jesus, and shalt believe in thine heart that God hath raised him
from the dead, thou shalt be saved.”
Open this
link of Bible Verses About Salvation,
King James Version Bible (KJV).
Hebrews 4:12 “For the word of God is quick, and powerful, and
sharper than any two edged sword, piercing even to the dividing asunder
of soul and spirit, and of the joints and marrow, and is a discerner of
the thoughts and intents of the heart.”
Romans 6:23 “For the wages of sin is death; but the gift of
God is eternal life through Jesus Christ our Lord.”
Romans 3:23 “For all have sinned, and come short of the glory
of God;”
Micah 6:8 “He hath shewed thee, O man, what is good; and what
doth the LORD require of thee, but to do justly, and to love mercy, and
to walk humbly with thy God?”
Philippians 4:13 "I can do all things through Christ which
strengtheneth me."
Jesus used clear instruction to teach His followers how to live and
about the Kingdom of God, and He'd exhibited the Kingdom in a tangible way
through His miracles.
The Bible is our roadmap to heaven!
John 14:1-4 "Let not your heart be troubled: ye believe in
God, believe also in me. In my Father's house are many mansions: if it were
not so, I would have told you. I go to prepare a place for you. And if
I go and prepare a place for you, I will come again, and receive you unto
myself; that where I am, there ye may be also. And whither I go
ye know, and the way ye know." KJV Bible
Psalms 23:1-6
1 (A Psalm of David.) The LORD is my shepherd; I shall not want.
2 He maketh me to lie down in green pastures: he leadeth me beside the still
waters.
3 He restoreth my soul: he leadeth me in the paths of righteousness for his
name's sake.
4 Yea, though I walk through the valley of the shadow of death, I will fear
no evil: for thou art with me; thy rod and thy staff they comfort me.
5 Thou preparest a table before me in the presence of mine enemies: thou
anointest my head with oil; my cup runneth over.
6 Surely goodness and mercy shall follow me all the days of my life: and I
will dwell in the house of the LORD for ever.


