SQUIRREL SKINNING 101While researching some early Porter family recipes along with
internet searches for a Chicken and Squirrel stew recipe that was made by my
Grandmother "Lizzie" Porter, I found out her basic recipe was originally called a
Brunswick Stew dating back to the early 1800's. My brides side of the
family (Adcock) has an excellent
Chicken stew and/or Brunswick Stew recipe but no one
around these parts use the traditional main ingredient SQUIRRELS!
It is understandable since many do not hunt small game such as the squirrel
anymore due to the popularity and availability of the Whitetail Deer and
many are sensitive to the thoughts of eating wild game.
Being somewhat of a traditionalist myself, I wanted to add the original
ingredient, Mr. Squirrel back to the Brunswick Stew recipe and had all the
ingredients on hand except the squirrels and today was my lucky day.
Our local squirrel population has rapidly diminished due the increased
numbers of the squirrels natural predators, mainly the Coyote, Red and Grey
Fox and Birds of Prey. Also, the cutting of the hardwoods being replaced with
the more profitable and faster growing Pine trees. However, this afternoon, the squirrels
were having some type of convention, because I saw four of them while out and
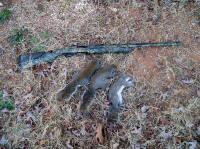
about with the help of my turkey gun harvested three of the four.
This brought back quite a few memories, since as a small boy I hunted
grey squirrels on a regular basis long before the Whitetail deer were
plentiful enough in Anson County, North Carolina to have a hunting season
for them. My weapon of choice back then was a Sears and Roebuck
.22 caliber bolt action repeating rifle that was made by Springfield Arms
and had a very cheap Revelation 4 power scope mounted on the rifle. I
remember paying less than 25 dollars for the rifle and about 4 dollars for the
little scope, but don't let cheap fool you. That .22 rifle would shoot
a hole in a hole at 30 yards nearly every time and it didn't make any
difference what brand of ammunition you used. It was not uncommon to
shoot only the eyes out of the squirrels and a head shot was made most of
the time. The ole rifle was traded for an upgrade a few decades back
but have not had a small caliber rifle since that would shoot as well and I
am talking about High Dollar ones at that!
Getting back to the squirrel skinning; my friend and turkey box
call tester David Stewart from Ellerbe, NC had never heard or seen of the method
I use to skin squirrels and he wanted a demonstration of how I skinned a
squirrel. Most people cut a slot in the hide across the middle
of the squirrels back and pull the hide in opposite directions,
however it does leave a good bit of hair on the squirrel if not very
careful. Another draw back to this skinning technique, is a very old
squirrel is tough as a
lightered knot and it takes an extremely strong
person to "peel" the skin off a squirrel this way.
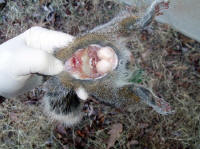
My method which I learned in the early 1960's from one of the hunting
magazines, probably Field & Stream or Outdoor Life, entailed cutting the
squirrels hide/skin right at the base of the tail and going deep enough to sever
the squirrels tail bone, but leaving the squirrel tail attached to the
hide/skin on
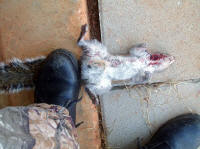
the back side of the tail. You would then place the squirrel tail on
a hard surface, edge of a step or flat stone placing your boot/shoe heel onto the
base of the tail and while holding the squirrel's back legs with both hands, pull upward which will
remove the skin from the tail, back and from the center of the
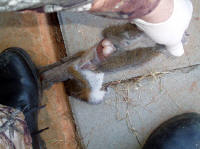
squirrels chest toward the neck, head and front legs. You then, simply
pull the remaining portion of skin (hide) off the belly side of the squirrel
over the
back legs.....this takes very little effort since you are using your legs
and upper body strength instead of just your arms. All that remains is
to severe the head and feet off and make a cut between the pelvic bone of
the squirrel to the neck and open the squirrel from the neck to the rear and remove
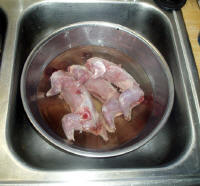
the viscera. A good soaking in regular tap cold salted water is
necessary to help remove the
blood from the squirrel, especially if using a shotgun like I did today.
The advantage of using a .22 caliber rimfire rifle and making head shots only is
obvious, since it doesn't leave blood shot editable meat.
A PICTURE IS WORTH A THOUSAND WORDS
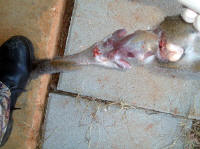
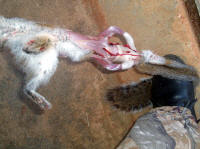
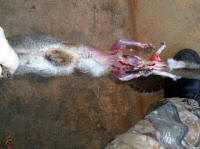
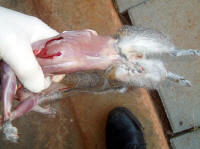
Since "a picture is worth a thousand words", inserted is a pictorial
sequence of skinning the squirrel using this method. I had a rubber
glove on the left hand to protect my left thumb that had a cut that wasn't
completely healed caused by an accident in the kitchen with a chef's
knife....Note: running my mouth with a friend while in a hurry
to get some onions chopped...man that hurt for sure! Click on the
thumbnails for a larger view: I did not have an assistant to take the
pixs and had to make do but the pixs should be petty much self explanatory.
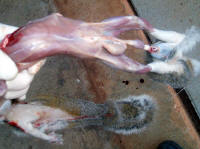
If you are not careful to make the right cut, you will break the
squirrels tail off and have to go back to the conventional method of
skinning your squirrel. I have found you can use a pair of vise-grip
pliers if you break the squirrels tail off and get hold of the skin at the
base of the tail and place your foot on the pliers and
use the same technique as described above. I broke the tail off one of the three squirrels, but
it has been decades since skinning a squirrel. Well, that's a
plausible excuse...grin if you must!
I will start the
Brunswick Stew tomorrow morning.
Web published by Bill aka Mickey Porter on 02-31-08.
TOOLS REQUIRED TO WORK SMARTER NOT HARDER
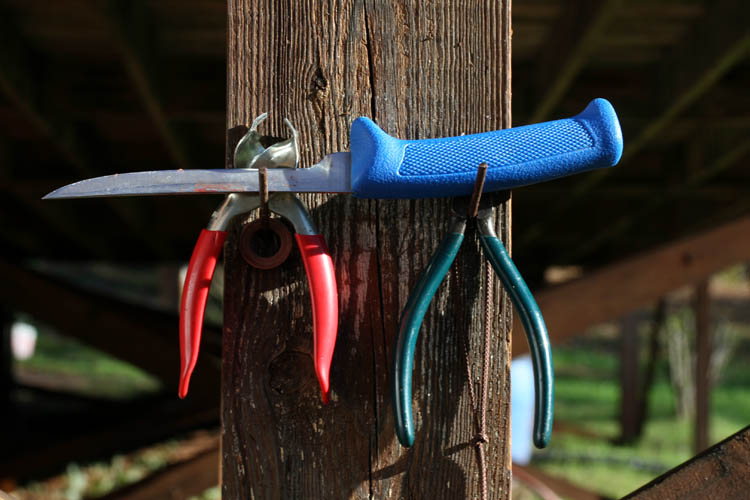
Above pix of the current "tools" used to clean squirrels. I use the
red handled catfish skinning pliers to grab hold of the skin left at the
belly of the squirrel. This was on the recommendation of Robert
Webster of Hamlet, NC. I have him using my
"Work Smarter Not Harder" theme and he
has the ability to "think outside the box"
too. The catfish skinner works much better than holding the skin
between the thumb and fingers and you have more leverage to pull that
portion of the skin from the squirrel to finish the above squirrel skinning
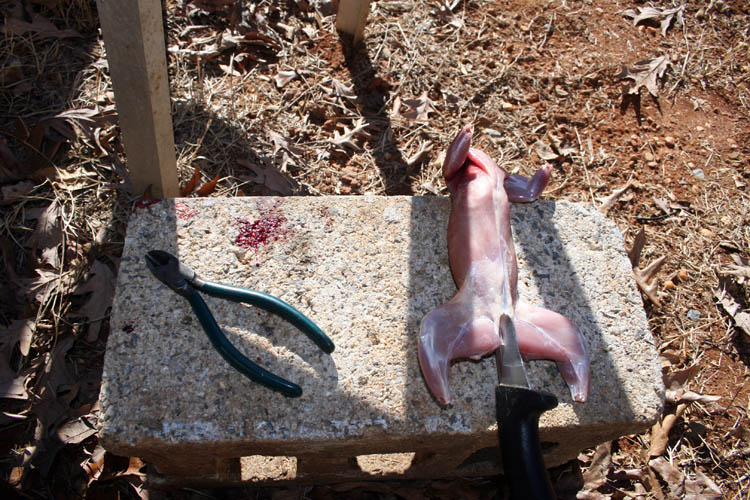
technique. I use the green handle side cutters to cut the bones of the
feet and finish them off with the knife. The blue handle knife is a
throw away from one of the poultry producers in Union County, NC as it is
worn and reground past their production standards but works fine for me. It is a
little too long for me personally but have not gone to the trouble to shorten the blade length
and regrind the tip section. I also use that blade to process my deer
harvested for the freezer; e.g., skin, debone and slice. I keep a
couple sharpened knives close by when processing my deer in case one gets
dull. A dull knife is very dangerous since it requires more pressure
exerted to accomplish the cut and a mishap can result in a serious injury if
not careful. I usually keep a few small cuts and nicks on my left
index finger during hunting season brought about by the processing of game.
NOTE: I use the two nails with head removed in the above pix
for securing the hind legs of
rabbits when skinning them.
Web published update by Bill aka Mickey Porter on 11-22-15.
SENIOR CITIZEN SQUIRREL SKINNING 101
I was having trouble this year keeping enough pressure on the squirrel
tail against our concrete garage floor and/or a cement block used for the
same purpose and came up with an alternate means to hold the squirrel while
using the same technique as posted above. This method allows you to
use your entire body weight to pull downward instead of upward.
I already had a couple nails into one of the deck support posts about eye
level that I used to hold the back legs of a rabbit aka
Wabbit to facilitate
the skinning process. With the usage of a couple braided nylon cord loops to secure the back legs
of a squirrel to the nails, it worked great. However, the nails were a little too
close together for supporting the back legs of a rabbit and I wanted some
clearance between the support post and the rabbit legs for easier skinning.
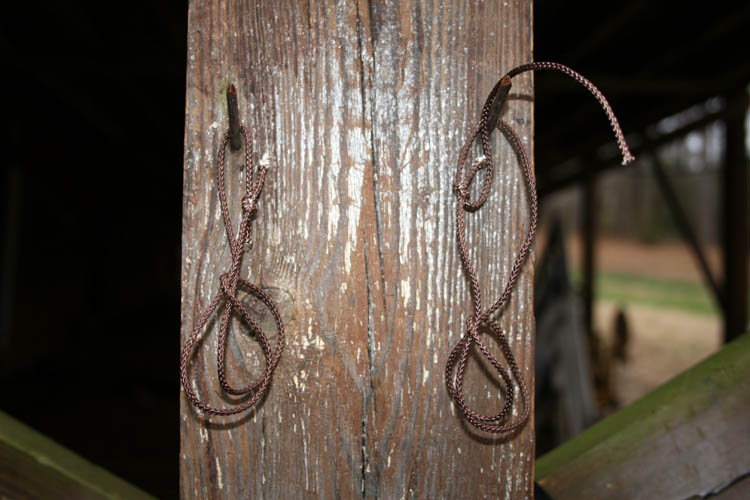
On January 19, 2018, I made a wood bracket to hold the nails in place and
spaced them six (6) inches apart which will work for a rabbit or a
squirrel. You do not need the braided nylon cord to hold the rabbit
legs in place, but simply push the back leg above the foot between the
tendons onto the nail which has the head removed and sharpened to a point.
The sharpened nails are pointing upward at an angle to prevent the legs from
easily coming off the nail.
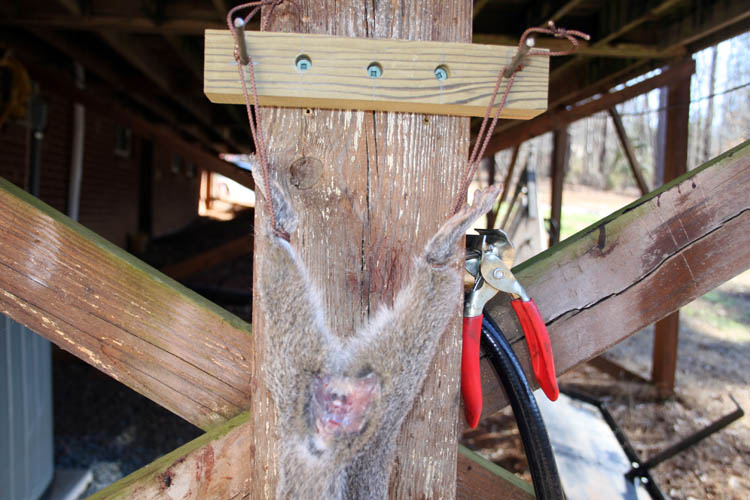
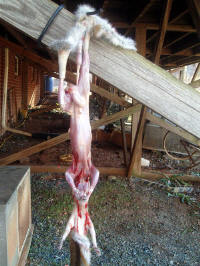
The same technique as before, make the cut at the squirrel tail base,
severing the tail bone leaving the hide attached. I had my camera tilted
in the above pix....grin if you must! See pix below:
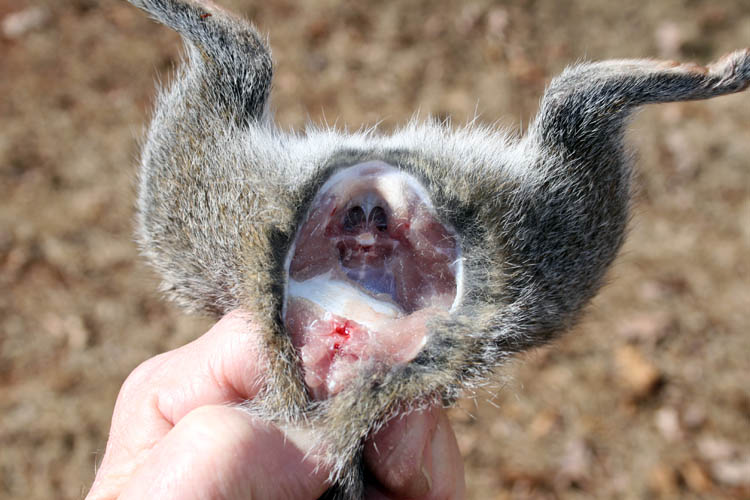
After the above cut is made, secure each back leg (foot) to the nails
using the loop.
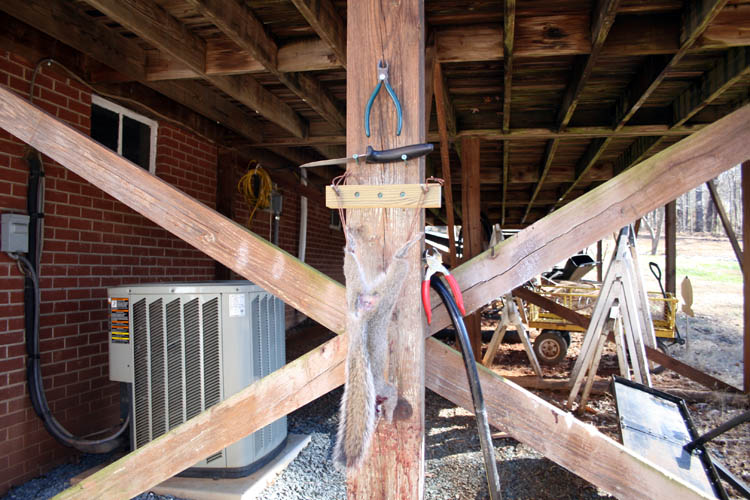
The braided nylon cord will not slip if positioned behind the squirrels
foot.
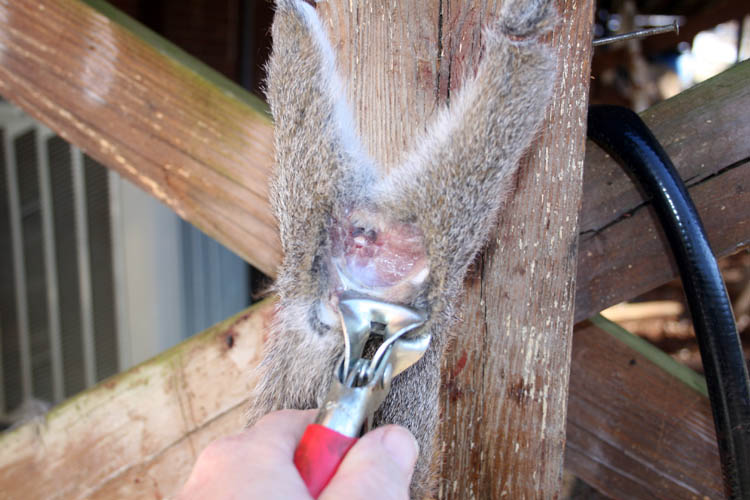
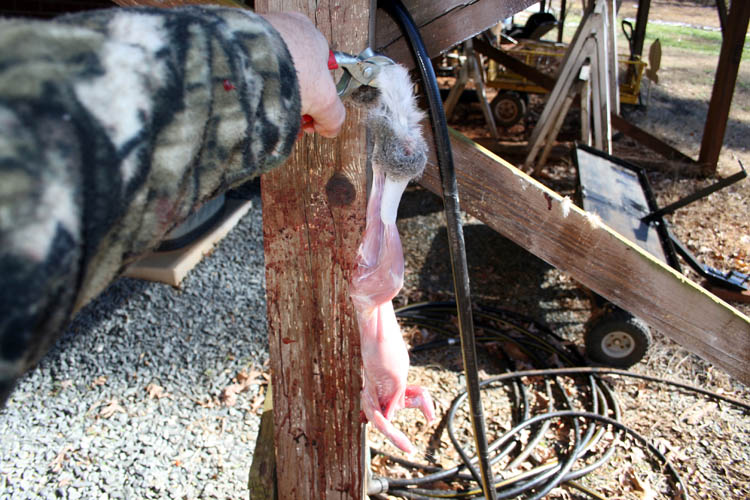
Using a pair of pliers such as the above catfish skinning pliers, grip
the squirrel hide at the base of the tail. Get a
good firm grip on the handles and pull downward using your body weight and the
squirrels hide will easily peel off.
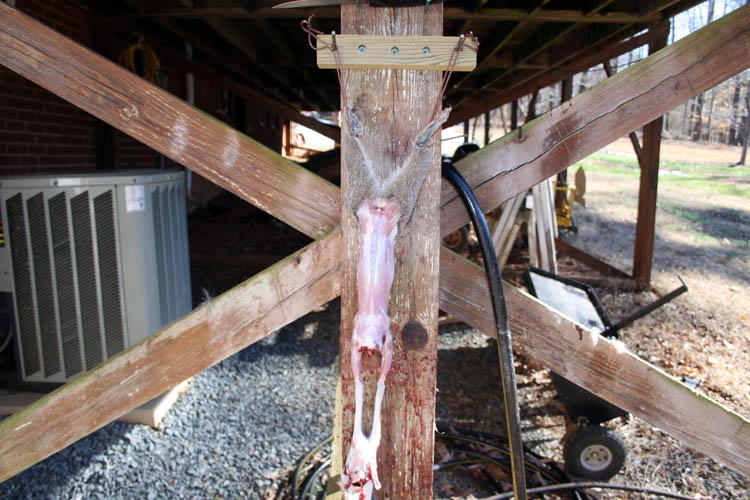
The only remaining hide will be a narrow strip on the belly of the squirrel
and the back legs.
Remove the squirrel back legs from the loops, holding the squirrel near the
chest/head area with the belly facing you. Get hold of the hide with the pliers and pull until the hide goes over both
back legs, completing the skinning job.
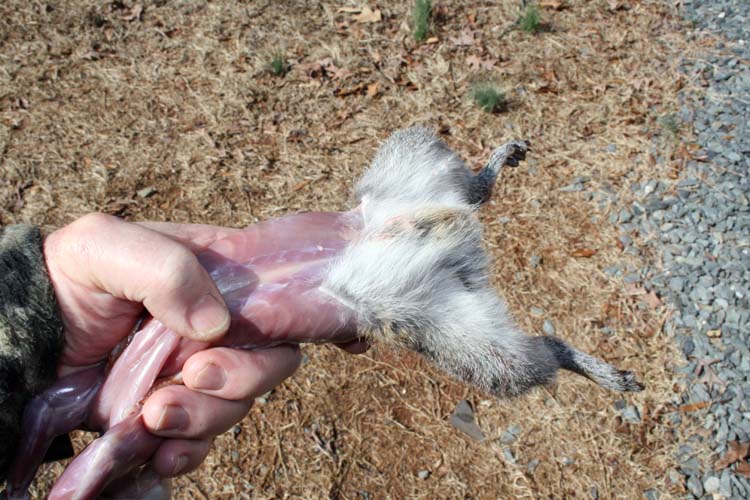
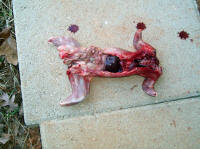
I inserted the above pix of a squirrel harvested on 02-06-18 that shows
the strip of hide/skin left on the belly of the squirrel. Grip the tip
portion of the hide on the belly shown above with the catfish skinning
pliers, pulling the
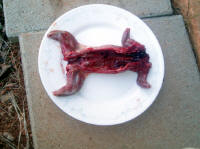
hide over the the back legs will yield the results in the below pix.
Notice that the head separated
from the body during the skinning process; a product of a head shot using
.22 caliber rimfire Ely Subsonic Hollow Point ammunition. The Wolf ammo that I hollow
point using the Neil
Waltz die, will do the same thing. Skinning devices that
secures the squirrel's head to complete the skinning job would not work with
such devastating head shots as above, but you would hold the squirrel as I
do.....another grin is in order.
All that is left to do is cut the feet and head off the squirrel and
remove the viscera aka body entrails.
I insert the knife blade into the anal opening and bring the rear of the
blade upwards which will cut the pelvic bone in
two and continue opening the body to the neck and remove the viscera aka entrails
starting at the anal opening and work toward the neck area.
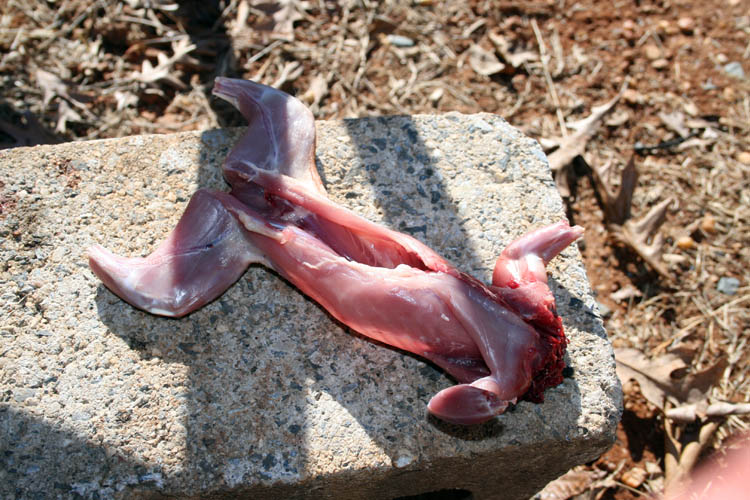
This is definitely skinning squirrels smarter not harder and you do not
have hair all over the squirrel either as evidenced by the above pix.
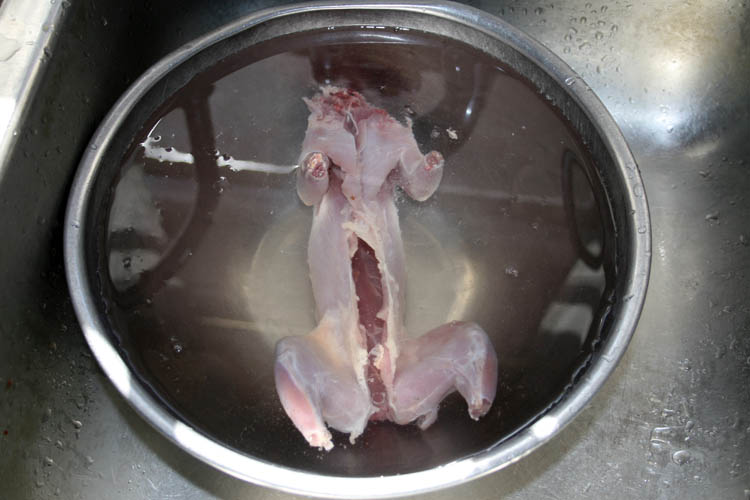
A good rinse off and soak for an hour in salted tap water, dry and place
in a freezer bag and you have some
good eating ahead, if properly prepared.
Web published update by Bill aka Mickey Porter on 01-20-18.
FRUITS OF THE HARVEST
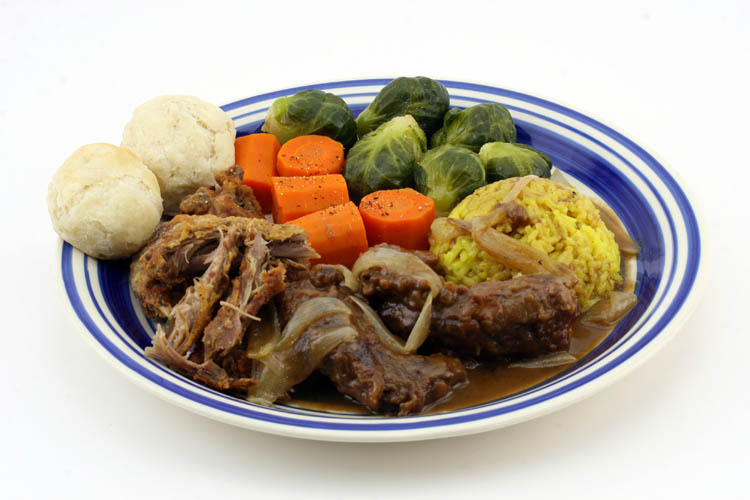
Above fried squirrel n gravy prepared on 08-09-14 and outstanding!
I left about half the fried squirrels out of the gravy and simmered the
balance for about 30 minutes. It was marvelous both ways; I had the
best of both worlds of cooking squirrel today. Served with yellow
rice, Brussels sprouts, carrots and Mary B's Tea biscuits. Naturally,
I had to use my favorite blue/white plate for the camera.....grin if you
must! Visit my
fried squirrel n gravy recipe.
HIGH TECH SQUIRREL SKINNING DEVICE
My number brother-in-law, Douglas Pettigrew of Reidsville, NC purchased a
squirrel skinning device that will work for various species of small game
and waterfowl. Below is a pix of the unit with a Mr. Bushy Tail ready
to be skinned:


Web published updates by Bill aka Mickey Porter on 01-22-18 and 02-06-18.
SQUIRREL CLEAN-UP CREW
I harvested a couple squirrels on 02-06-18 and wanted to see what has
been removing the hide, head and entrails aka viscera of the squirrels and
rabbits at my skinning station. I set up my game camera on one of the
deck support timbers and below are the results.
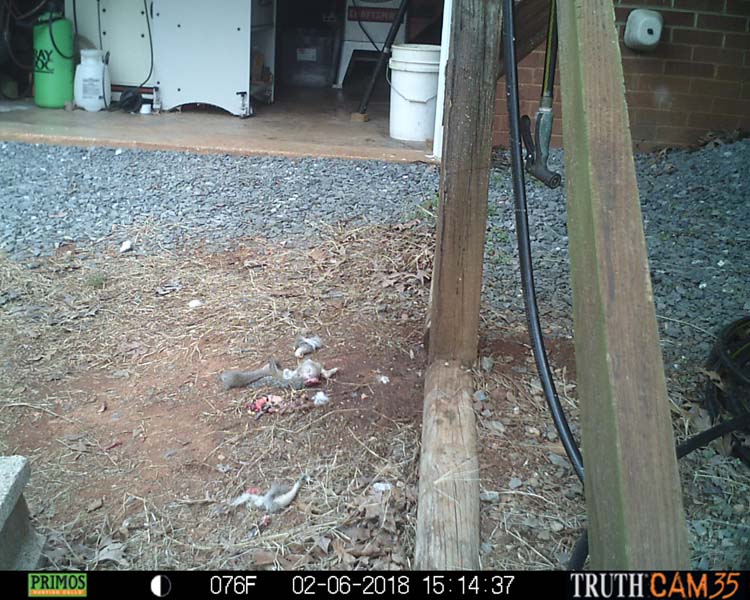
Above pix of a couple squirrel viscera, etc.
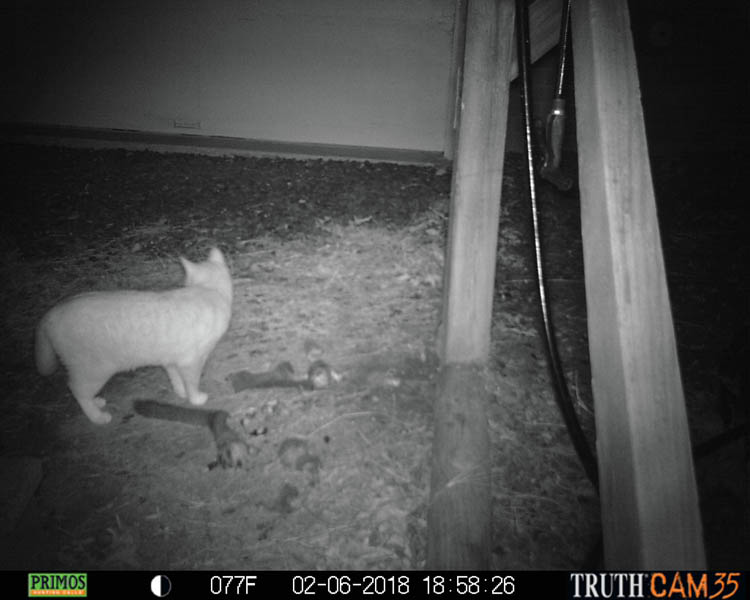
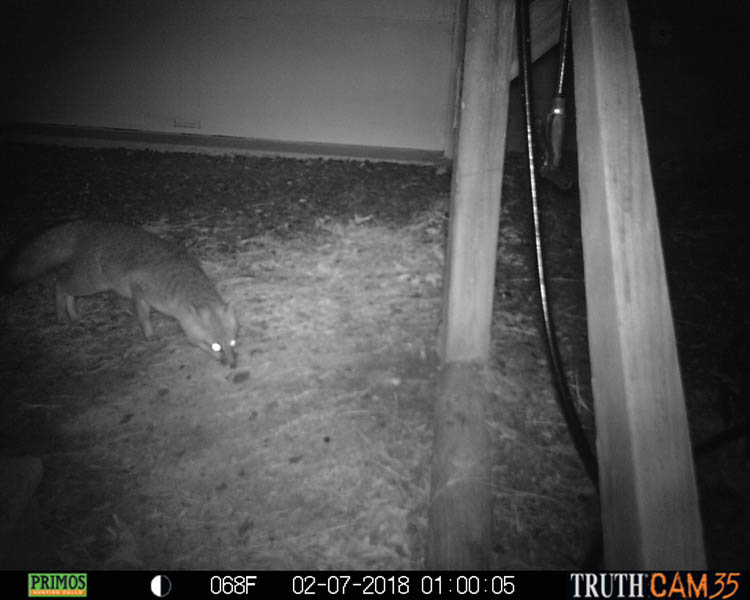
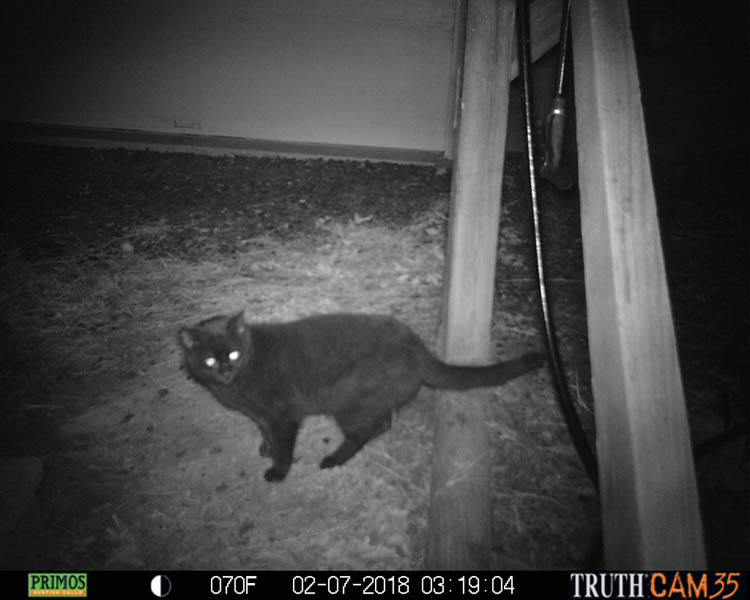
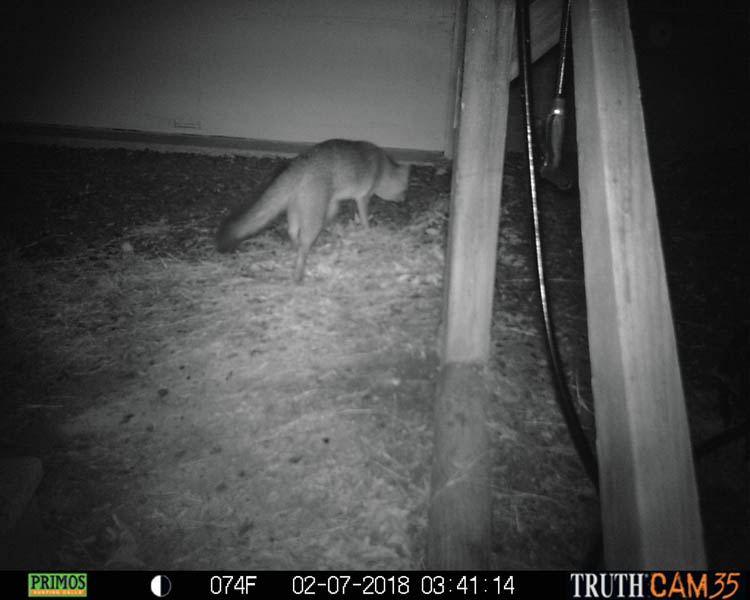
As manifested by the game camera, a couple house cats and a fox, could be
two separate foxes came by starting at 6:58 P.M. and ended at 3:41 A.M.
I was thinking maybe a coyote would stop by for a meal, but the cats and
foxes did the clean-up this time.
There were 78 pixs on the camera SD storage media card, of which I posted
only 5 of the pixs taken. The camera was set to capture a pix every 30
seconds and was working pretty good. The two house cats did the bulk
of the clean-up with the fox(s) getting a few left over tidbits. The
ole saying, "The early bird gets the worm."
I don't believe the temperature setting is correct on the camera.
Web published update by Bill aka Mickey Porter on 02-07-18.
LEAVING ON A
SPIRITUAL NOTE
If you do not know Jesus Christ as your Lord and Savior, please take
this moment to accept him by Faith into your Life, whereby Salvation
will be attained.
Ephesians 2:8 - 2:9 8 For by grace are ye saved through
faith; and that not of yourselves: [it is] the gift of God: 9 Not of
works, lest any man should boast.
Hebrews 11:1 “Now faith is the substance of things hoped for,
the evidence of things not seen.”
Romans 10:17 “So then faith cometh by hearing, and hearing by
the word of God.”
Open this
link about faith in the King James
Bible.
Romans 10:9 “That if thou shalt confess with thy mouth the
Lord Jesus, and shalt believe in thine heart that God hath raised him
from the dead, thou shalt be saved.”
Open this
link of Bible Verses About Salvation,
King James Version Bible (KJV).
Hebrews 4:12 “For the word of God is quick, and powerful, and
sharper than any two edged sword, piercing even to the dividing asunder
of soul and spirit, and of the joints and marrow, and is a discerner of
the thoughts and intents of the heart.”
Romans 6:23 “For the wages of sin is death; but the gift of
God is eternal life through Jesus Christ our Lord.”
Romans 3:23 “For all have sinned, and come short of the glory
of God;”
Micah 6:8 “He hath shewed thee, O man, what is good; and what
doth the LORD require of thee, but to do justly, and to love mercy, and
to walk humbly with thy God?”
Philippians 4:13 "I can do all things through Christ which
strengtheneth me."


