COFFEE TABLE - MISSION STYLE
For sometime, I have wanted to build a coffee table of the
Mission style using curly maple wood. However, I haven't had much success finding some 6/4 thick curly maple that
will give me at least a 1 inch thick top. The Mission style design of
coffee table is rather bold, yet fairly simple in style with vertical and
horizontal
members
not requiring a large array or inventory of tools and equipment to build.
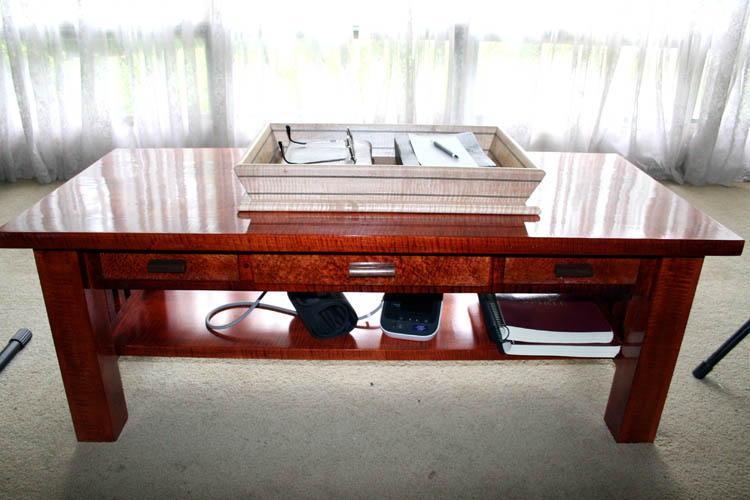
The curly maple custom
serving tray keeps my Bibles close by, which I get around 2 hours
of Bible
reading/study in each day; one hour in the morning and one hour
before bedtime.
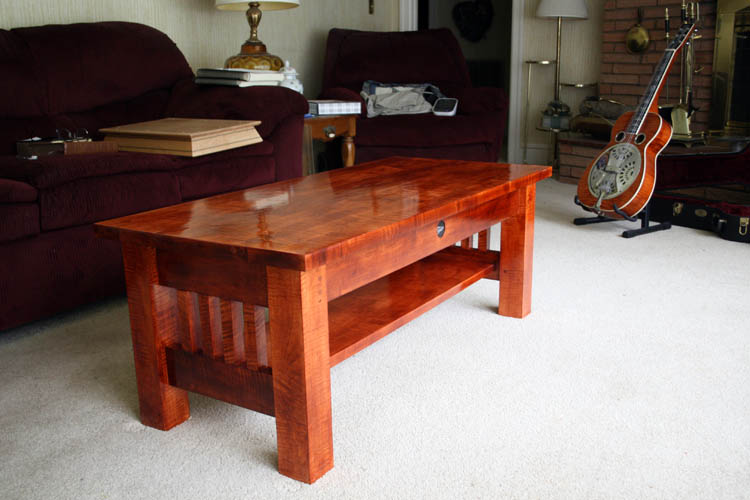
There is my matching custom made curly maple
resophonic guitar aka Dobro in the
background! It is very evident that curly maple, aka fiddleback,
tiger stripe, flame, etc., is one of my favorite woods.
Below pix taken at night....curtains in the background are actually white!
Not enough
ISO.
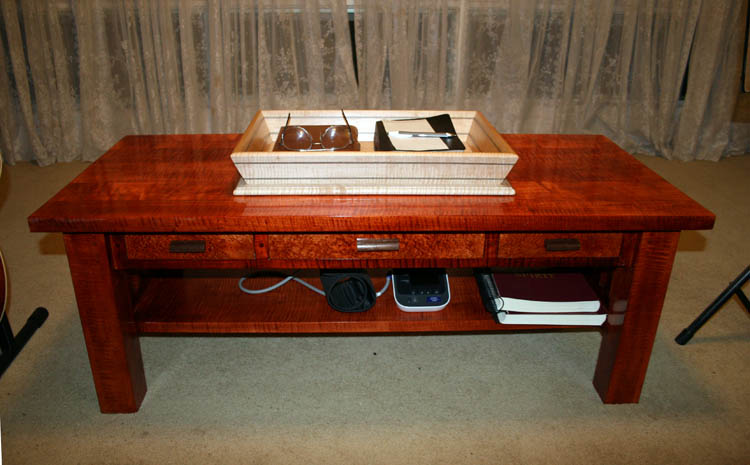
Pixs of the finished curly maple coffee table with bird's eye maple
drawers. 05-24-18.
INSTALLED MISSION STYLE DRAWER PULLS
NOTE: I finally located and ordered mission style drawer pulls via
the internet small enough for
the end table and coffee table drawers and will replace the custom made walnut drawer pulls
when they arrive. Swapped out the black walnut drawer pulls with the
mission style drawer pulls on 05-20-19 and the end tables and coffee table
is period correct now.
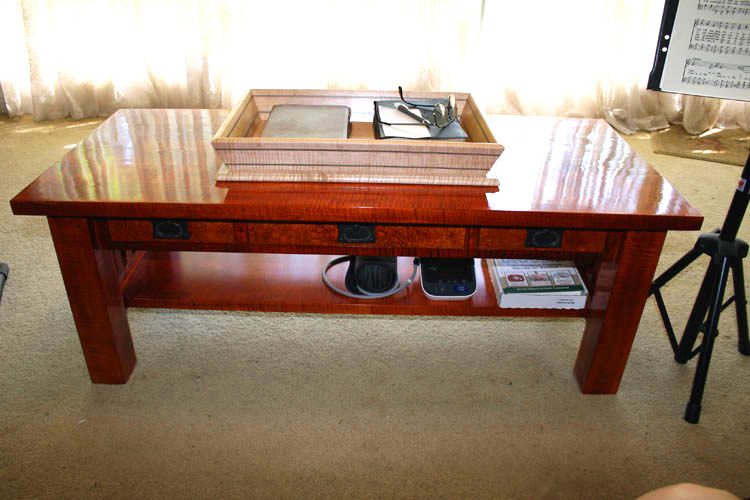
Close-up of the mission style drawer pulls.
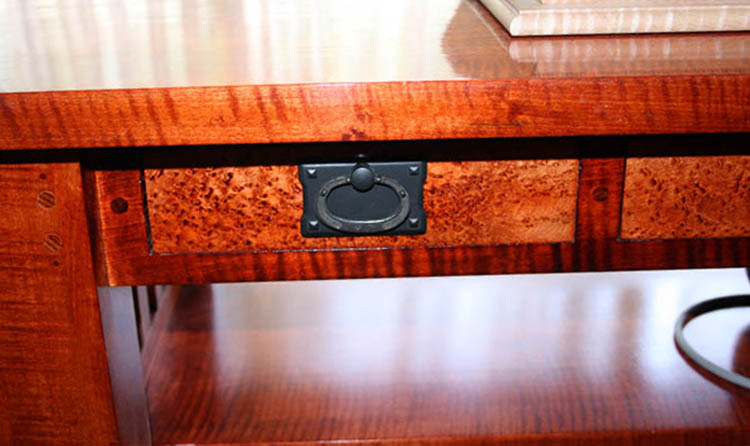
This has been a fun project and I am now surrounded by curly
maple wood including my Porter Custom Made
Resophonic Guitar and have God's Holy Word
aka Bibles in a curly maple
serving tray within arms reach, but most importantly,
God's Holy Word dwells within my, spirit, soul and body!
Web page updated by Bill aka Mickey Porter on 05-21-19.
PERSONAL SAFETY AND LIABILITY ISSUES
My goal will be to keep
Safety paramount because hand and power tools can
do serious bodily harm and death if not used properly, therefore these pages
are solely for entertainment purposes only from a personal
liability standpoint. Please read the
Legal Stuff
page for additional information concerning liability issues before going
any further. Safety glasses and hearing protection is a must, although
I do forgo the hearing protection many times; my bad!
LETS GET STARTED
As with my MO, (modus operandi) I want to go just
a little beyond the simplest Mission style of coffee table and incorporate
two or three storage drawers underneath the top and also an open storage shelf on
the lower level, yet stay away from curved lines of construction for the
support skirt/apron aka rails or bands underneath the top, staying with the traditional
Mission style of design.
Most Mission style coffee tables that I have viewed via the internet has
straight square legs and most with a lower storage shelf that doesn't extend
all the way to the front or the back, of which I like that design.
The
size of the Mission style coffee tables are in the vicinity of 48 inches
length, 24 inch wide and around 17 to 19 inches in height and do not follow
the
golden rule ratio of 1.6 as to width versus length, but will do a simple
mock-up before committing to a certain size. This
project will be mostly mortise and tenon construction with some wood dowels,
brass flathead screws
and glue to secure the drawer support members together. I do not plan to use an all
the way through tenon with the end exposed as does some traditional Mission
styles use. The top will have biscuits
and glue and will require two separate glue ups of less than 13 inches in
width, if I decide to run the units through my surface planer before gluing
the two separate panels together. If the glue joints are level enough,
will not need to surface plane them, but use the 4 x 24 inch belt sander for
the initial leveling, etc. I might locate a cabinet shop that has an
abrasive belt sanding machine to do the final sanding/leveling since curly
maple is prone to chip out and can ruin a project if the chip out is severe
enough.
MATERIALS
As stated earlier, I need some 6/4 curly maple wood for the top which will
surface plane down to at least one inch to give it the boldness look that I
am after. I had some 4/4 curly maple left over from my serving trays
project with some of the wood around 7/8 inch in thickness and most being
around 3/4 inch in thickness which will work for the back and side rail
members and the lower shelf.
I purchased a 20 board feet bundle of 6/4 curly maple wood from
Wall
Lumber Company in Mayodan, NC, and had them surface plane it down to 1.140
inches in thickness, however only a couple pieces in the bundle was what I would
classify as Grade
A material, with the balance less than Grade A without a lot of figure or curl to
it, but it should be doable. In pixs below of the leg glue up, there
is some Grade AAA that I received from Dustin Hensley and others. Most
of the wood I received from Wall Lumber Company on 06-02-17 was slab cut
which doesn't show the figured grain pattern that well.
Below a couple pixs of some of the left over curly maple from the
serving tray
project:
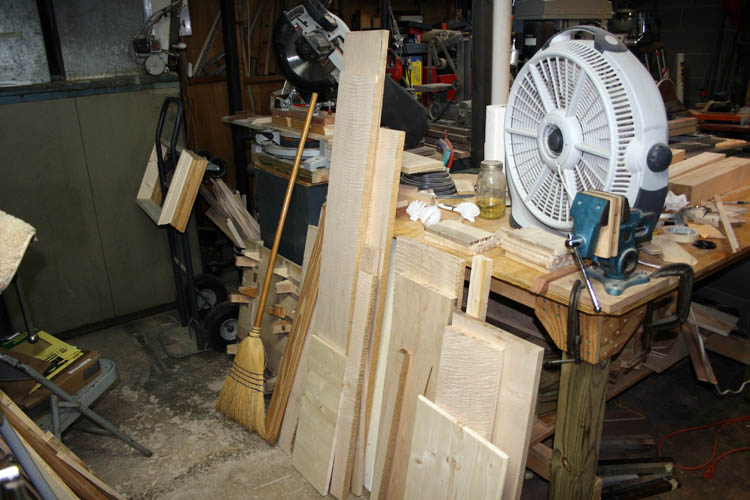
I had a couple wide pieces of decent looking figured curly maple wood about 24
inches long that was 8/4 or two inches in thickness and ripped them for a 3
inch square glue up for the legs which might be too thick, but can always
reduce the size if needed. I will "eye
ball" the projects to ascertain what size legs looks the
best.
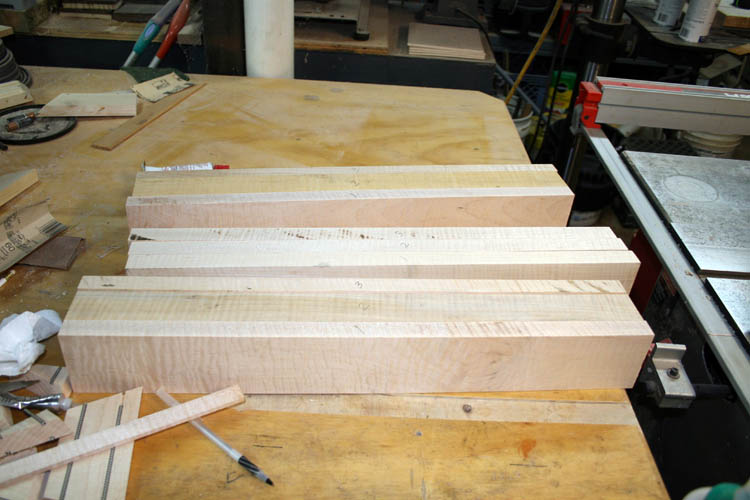
Some decent figured curly maple above.
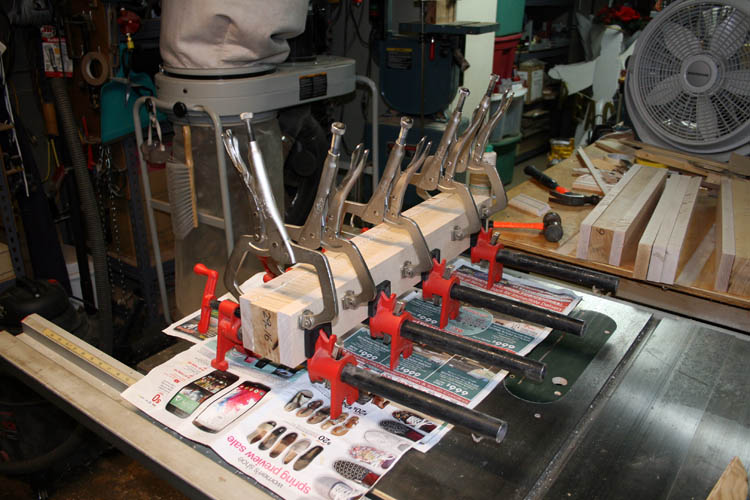
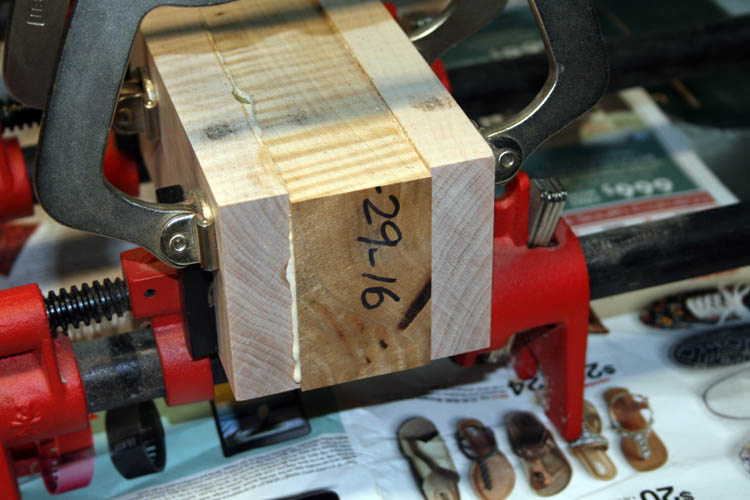
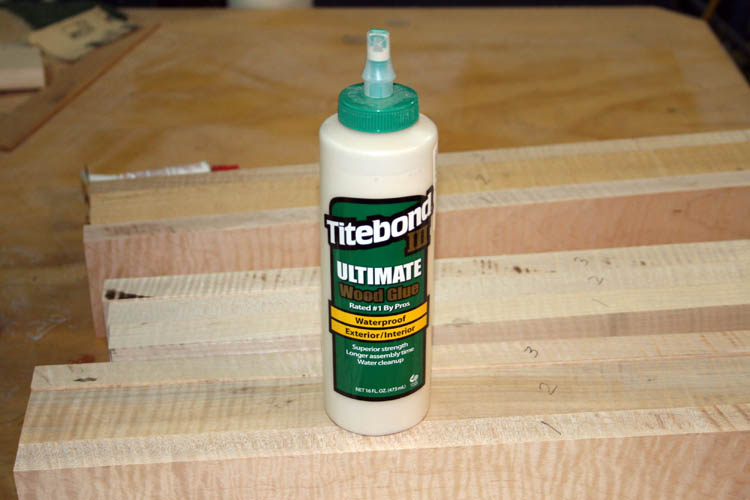
I used Titebond Ultimate III glue and plenty of clamps.
Pix of the Titebond Ultimate Glue III. I have used Titebond glue
for decades and pleased with it.
I did the above glue up on the legs back on August 29, 2016 and they
definitely should be cured out by now; grin if you must! My curly
maple supplier Dustin Hensley in Gray, Kentucky wasn't able to get me 1 inch thick planed boards
as of yet, that were 48 inch in length for the coffee table top and finally had to use
an alternate source. The alternate source's curly maple wood cannot
touch the quality of what I got from
Border Maple Specialties in Gray, Kentucky.
Centuries ago, Kentucky was known for its
Kentucky Flintlock long rifle which most of the time had a highly
figured curly maple stock from local harvested maple trees.
WALL LUMBER COMPANY CURLY MAPLE
Below pixs of the 20 board feet of curly maple from
Wall Lumber Company,
Mayodan, NC:
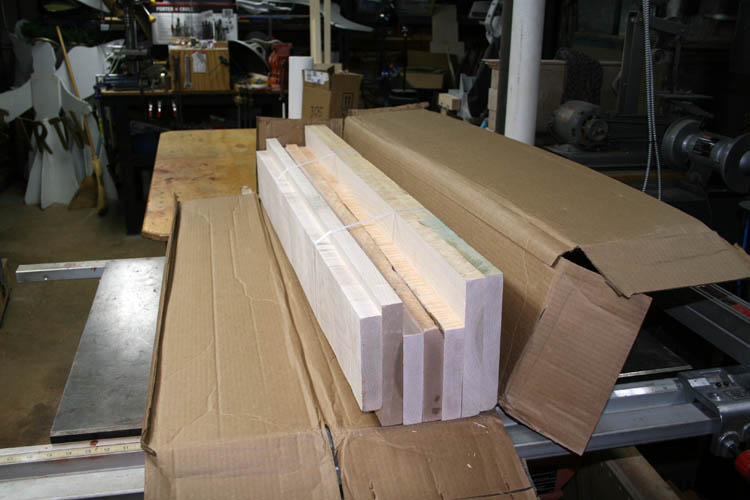
Letting the wood acclimate to my woodworking shop humidity.
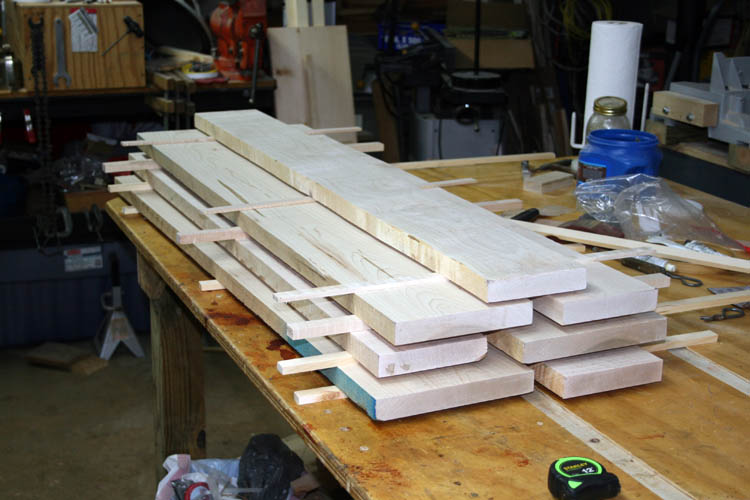
I will let the wood air dry (acclimate) to my basement woodworking shop
normal humidity for about a month. I checked the moisture content with
a pin type moisture meter manufactured by Electrophysics and it was a little
over six (6) percent, however I couldn't locate the meter case which
contained the conversion chart for other woods, since it is calibrated
and/or based for a wood such as Douglas fir. I emailed the manufacture
to obtain the conversion chart. The wood is definitely dry though!
Web published by Bill aka Mickey Porter on 06-02-17.
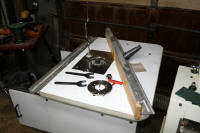
ANOTHER FIXTURE 06-27-17
A few days ago, one of my cousins called and wanted me to check on her
Mom and Dad's home that has been vacant since her Dad passed away a couple
years ago, whereas someone had broken into the home from the rear back porch,
breaking a section of the glass door giving them access to the locking
devices.
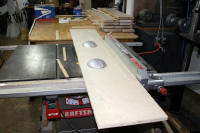
I surveyed the scene and purchased a sheet of 4' x 8' x 3/4 inch birch
plywood and cut a section 29 x 36 inches from one end and installed it over
the glass portion of the door, whereby I had plenty of excess material to
construct a simple fixture 12" x 65" to trim irregular and/or not
straight pieces of wood without having to bandsaw a rough straight edge and
then true it up on the joiner/planer. I can install a couple DeStaCo
clamps or use simple wood blocks positioned as levers with the aid of 3/8
inch diameter threaded rods anchored into countersunk locking nuts from
underneath the fixture.
The fixture will have a long runner aka slat that will snugly fit the miter groove
aka slot
width in my
table saw top, whereas it will track north and south without any side to side
movement and any hangover off the edge adjacent the table saw circular blade
will be trimmed away using a rip blade with a zero tolerance insert. Once I have a good straight
edge on the edge of the board, I can then use my regular table saw fence to
true the other edge up and to whatever width I desire. I want to keep
the top members around 6 to 7 inches in width for the glue up and end up a
24 inch wide coffee table top, however I might have it a couple inches less
than that.
I started today, by ripping a 12 inch wide piece from the 3/4 x 48 x 65
inch Birch plywood panel. I already had some left over (unallocated) red
oak material that had been resized to the 3/4 inch width of the table saw
miter groove and ripped four (4) pieces a little less than 3/8 inch in thickness.
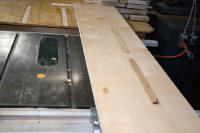
I placed the red oak slats into the table saw miter groove aka slot; used two
of them and
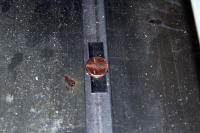
elevated them with a copper penny and a piece of .025 stainless steel shim
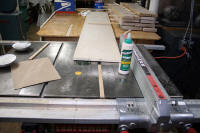
stock off the bottom of the groove; ran a bead of Titebond Ultimate III glue on the slats and placed
the 12 x 65 x 3/4 inch piece of birch plywood on top of the slats aka
runners which was a little proud
of the table saw top surface, whereas I will run the fixture across the saw
blade once all four miter
slats are in place. I used a couple pieces of lead material
weights to apply pressure and will allow the glue to cure overnight. I will
then, glue the other two runners aka slats in place, which will take two more gluing
operations due to the placement of the slats on the birch plywood trim
fixture. When all four (4) sectional runners are glued in place, I
will countersink some flathead screws from the bottom of the runners.
The clamping devices will be installed and make some type of handle to
assist in pushing the fixture across the table saw. This is a lot of
extra work, whereas I could simply use the bandsaw and jointer/planer, but I
want to get a finish cut parallel board for a good tight glue up for the coffee
table top. I am sure this trim fixture will be used on other future
projects as well, if the
Lord will of course! I have a couple
shorter trim fixtures, but this trim fixture should handle up to a 5' length
board, of which I plan to have the end toggle clamps positioned for a 4'
board. I doubt I will install 1/4 x 20 wood screw inserts, but simply
use wood screws to hold the clamps in place.
Click on thumbnail pixs below for a larger screen view:
Webpage updated by Bill aka Mickey Porter on 06-28-17.
TRIM FIXTURE CONTINUES 06-29-17
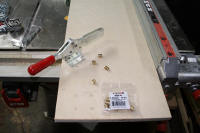
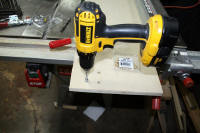
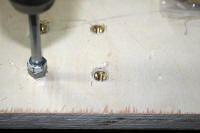
Since I already had some 1/4 x 20 tpi brass inserts, I decided to install
them for the mounting of two DeStaCo 235-U toggle clamps. I had one extra
toggle clamp and "borrowed" one off a fixture not currently in use
and do not foresee using that fixture anytime soon.
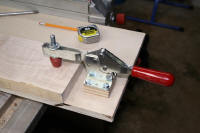
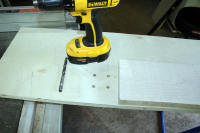
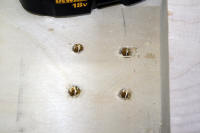
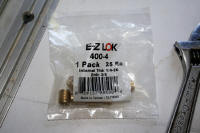
With the toggle clamps installed, it was time to start trimming the sides
of the 4' curly maple boards.
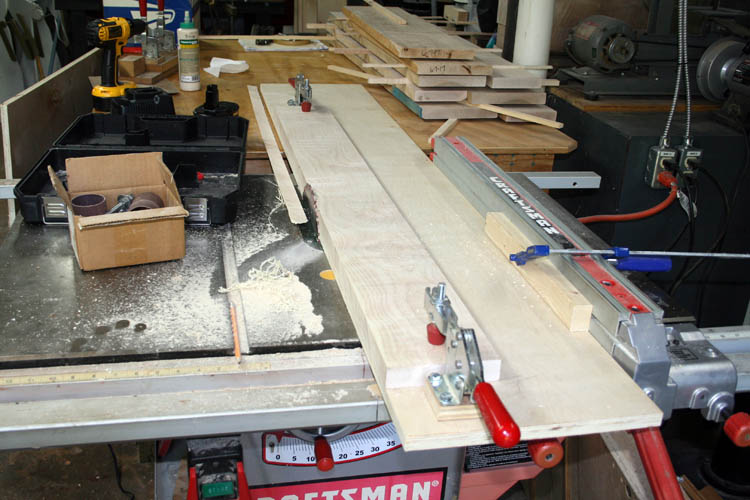
The fixture worked great, but the red oak runners were just a little snug
width wise in the table top miter saw slots, but will loosen up some with
usage. It took a little extra manual effort to push the fixture across
the table saw and supported the front overhanging end with the aid of a
roller stand designed for that purpose.
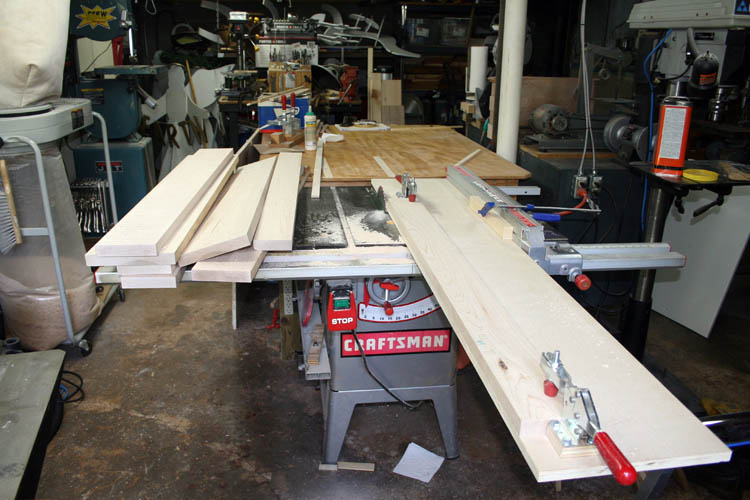
With all the boards trimmed with one good parallel edge, I trimmed the
opposite side using the table saw fence with the trued edge and ripped the wider boards in half.
There will be enough material for the top and also the side members. I
have enough material on hand for the lower shelf which doesn't have to be
but around 3/4 inch in thickness. The top is around 1.140 inches and
has a bold look to it. I haven't decide whether I will route a
decorative edge on it or not, but the Mission style has a square edge and
will probably go with that. It would be less chance to ruin the top
with a the straight square edge versus the edge with a decorative border since curly maple can chip and blow out quickly
due to the tight curly grain structure,
even when doing everything correctly!
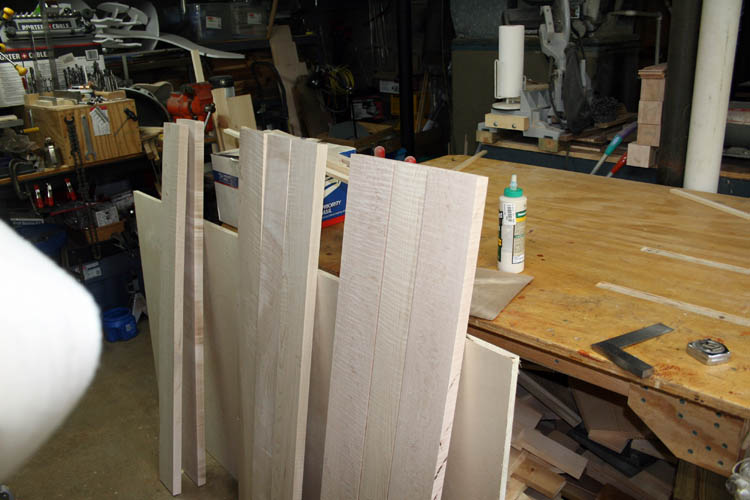
Checked the tightness of the joints to see what they looked like; appears
good.
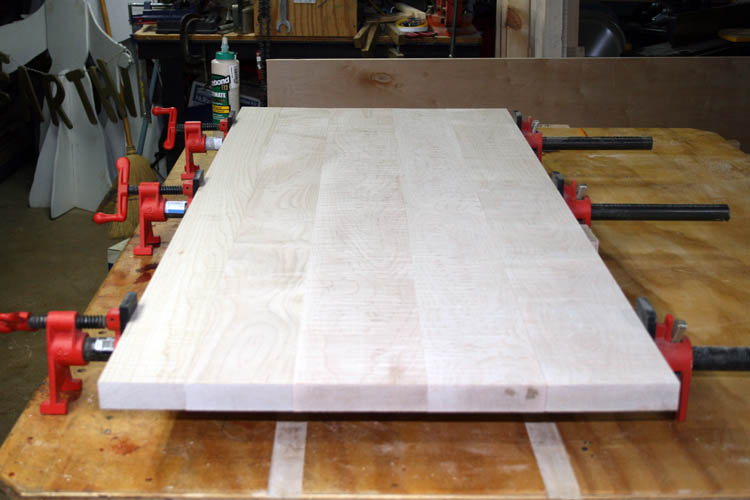
TOP GLUE UP
I planned for five (5) biscuits installed in each board glue-up and took
my time and only glued two boards together at a time, rather than try and do
the entire five board glue-up. The Titebond Ultimate III glue has a twenty minute
open glue time, but in reality it is about half that time and didn't want to
take a chance and have the glue sitting up before adequate clamping pressure
applied. I have messed up
before during a glue-up and didn't want that
to happen again. It is best to do it right the first time!
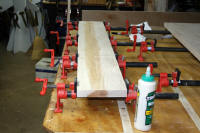
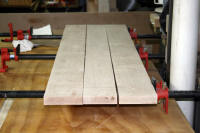
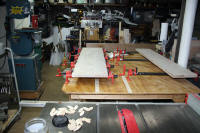
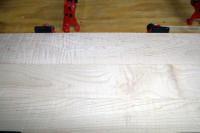
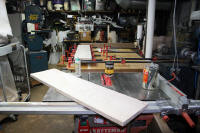
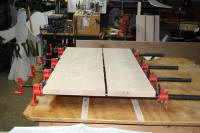
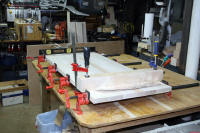
I used a total of twenty (20) # 20 biscuits and tightened the bar clamps just tight
enough to get a good tight glue line fit, without squeezing all the glue
from the joint. I used a small horse hair plumbers acid flux brush to
apply glue to each board, the biscuits and biscuit slots. I plan to
obtain a dedicated glue tip bottle just for biscuit joints which is much
more efficient than the horse hair brushes.
The five boards fits together real well and should not be a problem to
sand everything flush and flat using either my 4 x 24 inch belt sander
and/or the orbital sander, finishing off with the two Porter-Cable palm
sanders.
I let each glue-up rest twenty four hours before the next glue up; this
wouldn't work on production, grin if you must! I will square up the
ends on the table saw using a trim fixture and rip the width to size.
I plan to position the 3 inch square legs and do a mockup and see if they
are too large for eye appeal for the top and go from there.
I checked the date ID of the pix of the last glue up and it was on
07-08-17.
GOT SIDE TRACKED DOING SLIDE SCANS
I took plenty of time off from this project and re-scanned over one
thousand three hundred (1300) 35mm slides taken back in the middle to late
1970s through 1983 and scanned them at 1200 dpi. I ran a few of them
after scanned through Photoshop CS2 and saved as a .tiff file which was
around 95 megabytes. However, I saved most in .jpg format and did not
run them through Photoshop CS2, but through the Epson V550 software which
was around 3.5 to 4 megabytes depending on the light factor of the original
slide. I use the .tiff format when needing a quality large print,
however usually end up with around 100 kilobytes or less for web publishing a
pix as above. I will run the digitized 35mm slide images through
Photoshop CS2 when I need to correct the image and resize for web
publishing.
It took 1.6 minutes to scan each slide and that doesn't include blowing
dust from the slides and brushing each front and back of the slide film with
an antistatic type brush. The Epson V550 will allow you to load four
(4) slides at at time in a plastic positioning holder. For what I am
archiving, the Epson scanner is OK, but "Most of
the time, you get what you pay for" and this scanner is a
good example.
Below is a slide that was taken back in the early
1980s that is digitized from Kodachrome slide film:
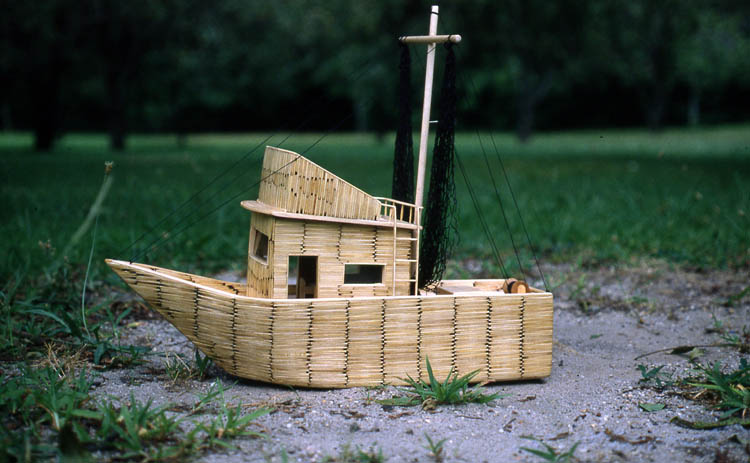
The little shrimp boat was made by an inmate at the Anson Correctional
Center in Polkton, NC. Back then, 1980s or earlier, with the Supt's permission, inmates
could sell their hand crafted items to staff members....that is
taboo now......grin if you must!
There was a pile of wood matches used in the above shrimp boat along with a
few popsicle sticks, sewing thread wood spool and a nylon hair net, etc.
I don't have a clue as to who I gave the above shrimp boat too.
Web page updated by Bill aka Mickey Porter on 07-12-17.
COFFEE TABLE ON HOLD AT THIS TIME
Due to our annual big game
hunting season in and some current health
issues, I placed the coffee table project on hold aka the
"back burner" and hopefully
will get back on it sometime around Spring of the year.
Web page updated by Bill aka Mickey Porter on 11-18-17.
COFFEE TABLE OFF THE BACK BURNER
The weather finally got warm enough to start back on the coffee table and
began by squaring up the ends using a large sled on the table saw on April
4, 2018. The reason being, I need to open the basement shop door and
blow out the dust created from the sanding inside. I have a decent
sawdust chip collection system, but not for the hand sanding machines.
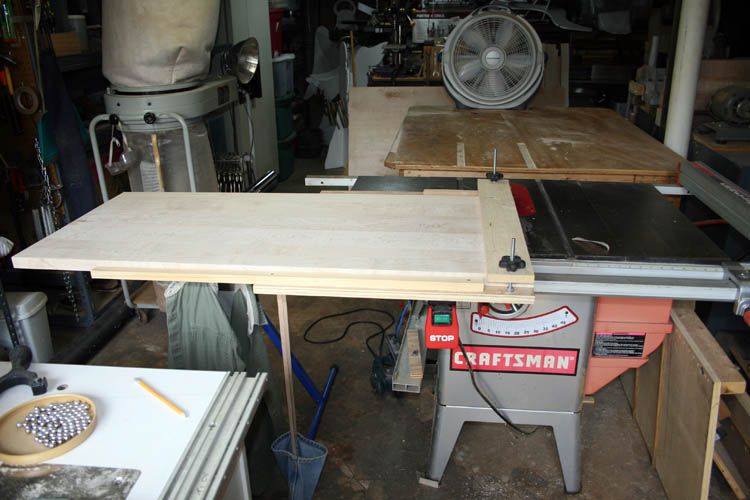
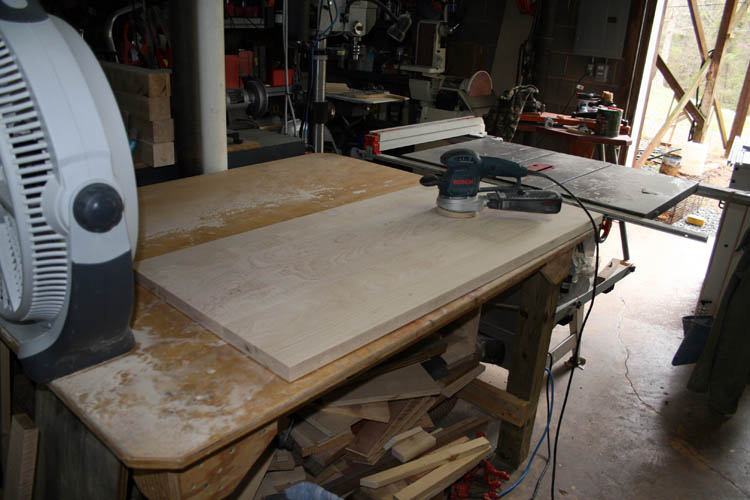
After squaring up both ends of the top, the rough sanding was done with the
orbital sander using a 60 grit sanding disc and cleaned up the glue lines.
I did notice a slight upward warp on one of the outside boards on the top
and ripped it to about 2.5 inches and flipped the grain over and secured
them with five # 20 biscuits and Titebond III Ultimate glue. I didn't take
any pixs of the gluing operation. The final top dimensions are 21.250
inches width x 48 inches length x 1.125 inches thickness.
MITER SAW, MORTISE MACHINE AND TENON JIG USAGE
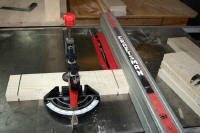
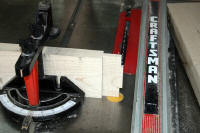
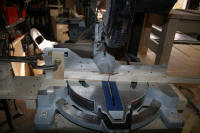
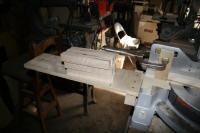
The following day April 5, 2018, I put in a long full day sawing the 3
inch square legs
to final length of 17 inches, cutting the end and side skirts aka rails or
aprons and end upright pieces.
After the cutting sequences, mortise slots were cut in the legs, followed by
cutting tenons in all the connecting members and trial fitting them.
The tenon lengths are 1.5 inch length x 2 inches height x 3/8 inch thick
for the upper skirts. The lower rail is 3.5 width x 12.5 length plus a
1.25 length tenon on each end.
I am going to thumbnail the pixs to save download time, therefore click
on the thumbnail pixs for a larger screen view.
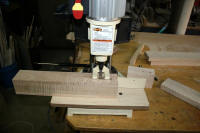
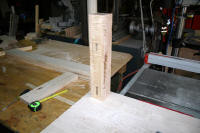

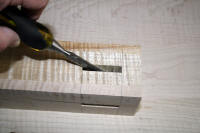
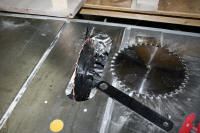
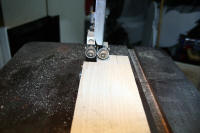
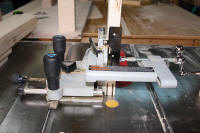
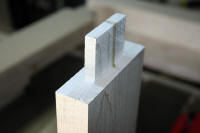
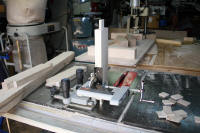
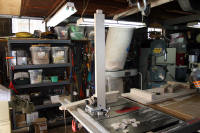
I used the band saw to cut the cheek portion of the tenons off,
whereas you could chisel them one saw cut width at a time on the table saw,
but that is the slow way of doing it. The band saw works fine if you
don't get careless, since you have a saw blade width margin of safety when cutting
the cheek portion using the band saw. After the mortise slots and
tenons were completed, I had to use a 3/8 inch width chisel to clean up the
mortise slots. I initially planned to use a 1/2 inch width mortise
slot, but it took a tremendous amount of pressure to make the cut on this
hard maple and elected to use a 3/8 inch width mortise bit in the mortise
machine. The upper mortise slot length is 2 inches and the lower
mortise is 1.5 inches in length which will be plenty strong in the hard
curly maple wood.
TRIAL FITTING OF THE MORTISE AND TENONS
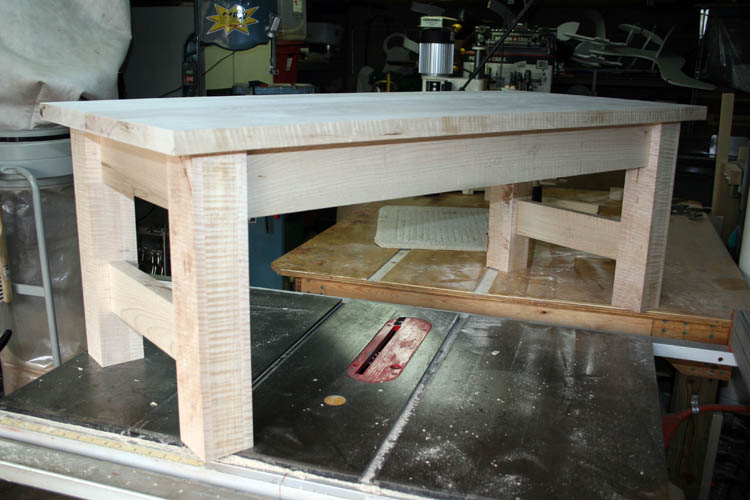
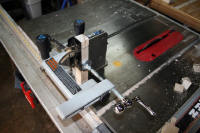
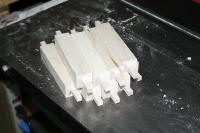
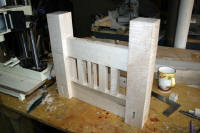
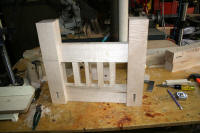
The above mortise and tenon connections had to be
"tweaked" a little and
it was time to cut mortise slots in the lower end rails for four 1.125 inch
square upright posts that had a matching tenon on each end. I used the
table saw to rip some spare stock and the miter saw to cut the length.
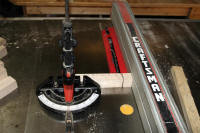
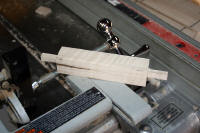
The table saw was used prepare the shoulder stop cut for the tenon and used
the tenon jig to come the tenon which was 3/8 inch square and about 3/4 inch
in length, plus or minus. Thumbnail pixs below:
LOWER SHELF CONSTRUCTION
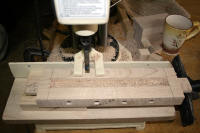
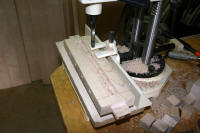
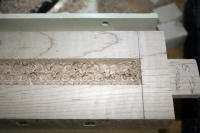
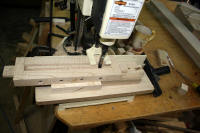
I had a piece of one inch thick curly maple that was approximately 11
inches in width and ripped it down to 10.375 inches width and cut the length
to 41.625 inches. I removed the lower rails from the legs and used the
mortise machine to excavate a cavity aka mortise for the shelf to rest in.
I made the mortise a little oversize to allow for width expansion. The
length of wood does move much with changing humidity; it is the width of a
board that does the most expanding, therefore allowance has to made when it
is possible. Thumbnail pixs below:
I didn't take any pixs of cutting the shelf to width and length. I
counted about 222 mortise cuts in both of the lower end rails to fit the
shelf into. As stated, there is some room for expansion in the mortise
slots. The parts were dry fitted again and below a pix:
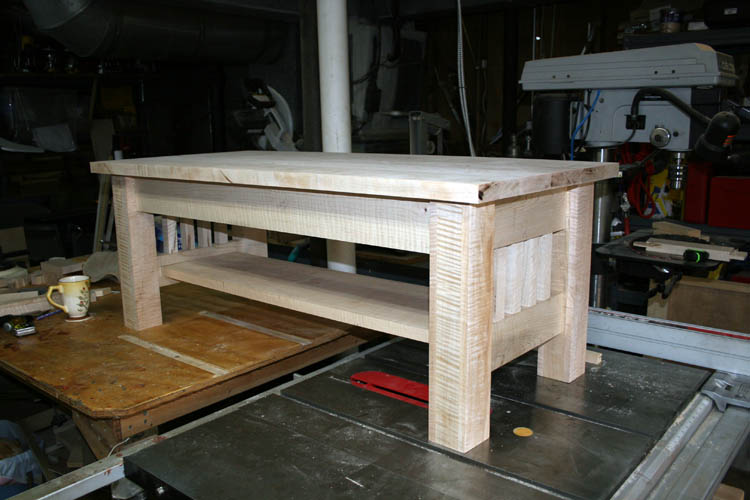
The final construction for this project will be to cut out three drawer
openings in one of the aprons for the fitting of flush mounted drawers along
with support members for the drawers and of course the drawers themselves.
This will be a new learning experience since I have not made drawers before.
I sent a pix of the above semi-finished coffee table to our son in Vista,
CA and he said,
"It looked brutish" of which it
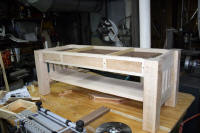
is massive for sure! It will take a couple of us to transport it
topside.......grin if you must.
Web page updated by Bill aka Mickey Porter on 04-08-18
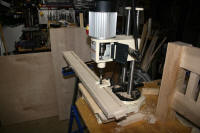
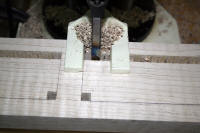
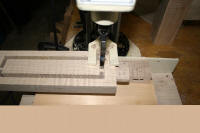
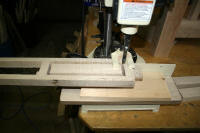
CUTOUT IN SKIRT AKA APRON FOR THE DRAWERS
I planned for three drawers and did the pencil layout on the skirt
member. I thought of several options to make the cutouts using a
router, drill press, jigsaw and the mortise machine. The plunge router
would definitely have a smooth finished surface edge, but it doesn't take
but one slip and the piece would be ruined and I do not have an extra 1.125
inch thick piece of curly maple to do a remake on the skirt for the drawers.
I decided to go with the most fail safe method for me and that was the
mortise machine. There will be a large number of square holes to
drill along with some serious edge sanding, but with the rear fence on the
mortise machine, I could drill the square chisel holes parallel with the
fence. Below thumbnail pixs taken:
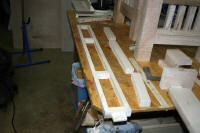
I might get some hand sanding/filing in on the drawer frame apron this
afternoon. The weather has gotten cold again and misting rain this
morning. Seems like ole Man Winter is not wanting to give in unto
Spring and we just might go directly to summer bypassing Spring altogether;
weather wise that is!.
Web page updated by Bill aka Mickey Porter on 04-09-18.
SANDING
On 04-11-18, I got some sanding and filing in on the apron for the
drawers to true up the chisel cuts made by the mortise machine and most of
the other components for the coffee table sans the top.
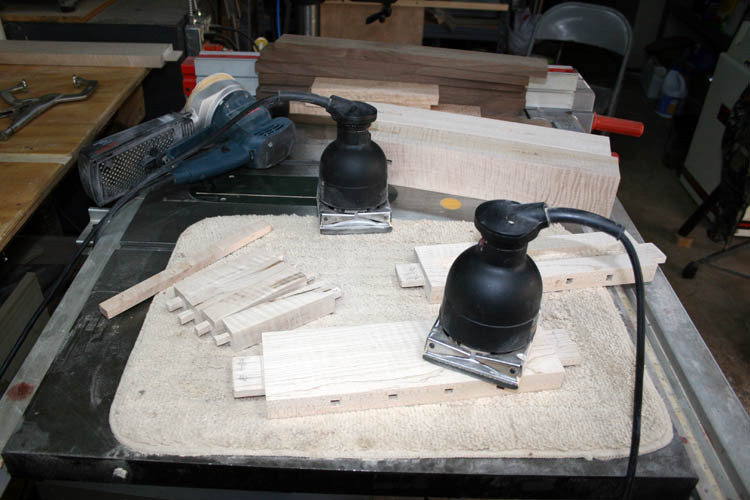
I used 80 grit in the orbital sander and 100 and 220 in the palm sanders.
I will probably go finer in grit on the top.
BIRDSEYE MAPLE FOR THE DRAWER FRONTS
After sanding the Curly Maple coffee table components prior to gluing the
end frames, I located some left over aka
unallocated Birdseye
Maple large enough to
make the drawer fronts out of.
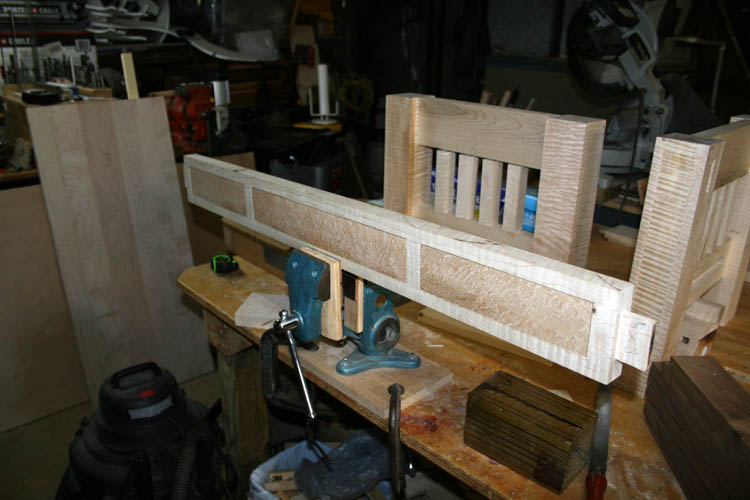
The contrast between the Birdseye Maple and Curly Maple should really pop when
stain and finish are applied.
DRAWER SIDE AND END PIECES
I located a piece of black walnut that was 2 3/8 inches thick and perfect
for the sides of the drawers and backs and ripped the thickness to 3/4 inch
to match the drawer front thickness since I plan to use half blind dovetails
for all the corners. I didn't have any other suitable wood such as
poplar and hate to use good wood that will be hidden from view.
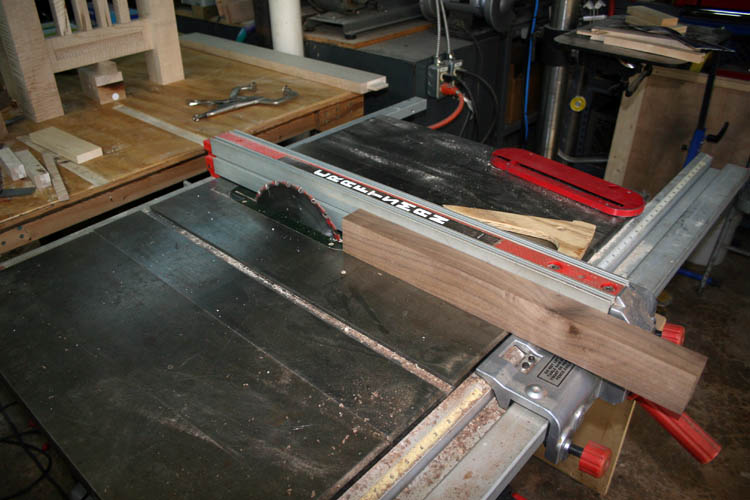
Both my rip and crosscut saw blades need to be resharpened!
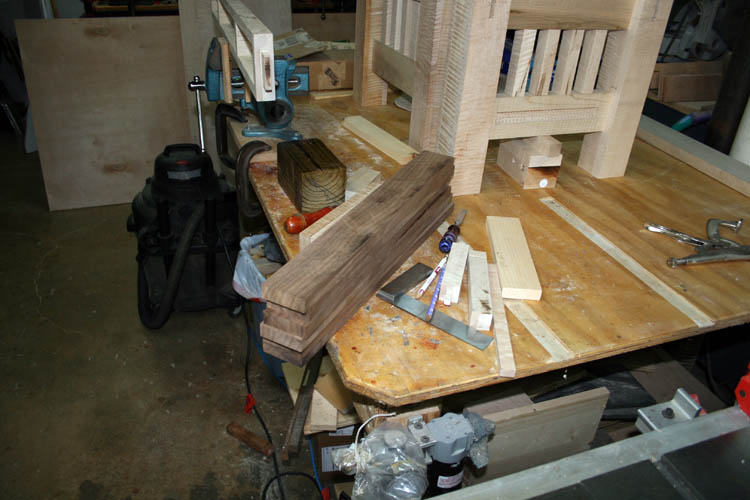
I plan to go old school on the drawer support frame construction using
wood instead of metal drawer slides.
MITERED LEGS
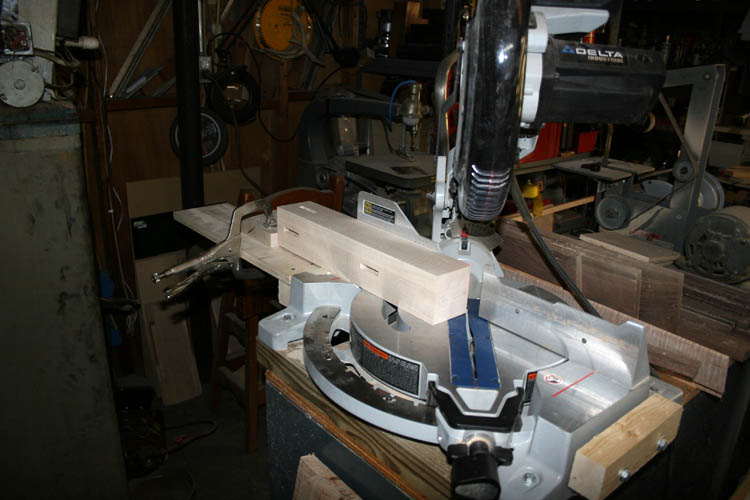
About 1/4 inch length forty-five (45) degree miter was cut on side of
each leg.
GLUE AND CLAMP TIME FOR THE ENDS
I marked the tenons and the end of the pieces that will not be seen
indicating in/out, up/down to prevent a mishap with the glue-up. I am
using Titebond Ultimate III glue and there is enough open time, but you
definitely can't procrastinate, therefore all clamping devices should be
close at hand.
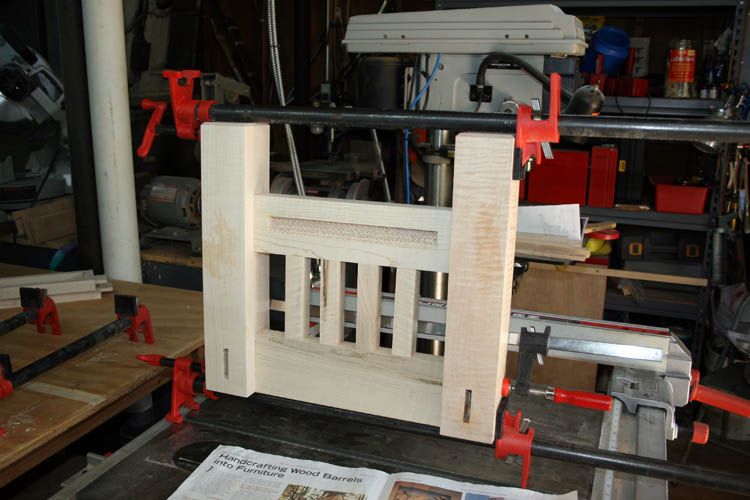
For some reason, the end piece upside down, reminds me of the
Tower Bridge in London.
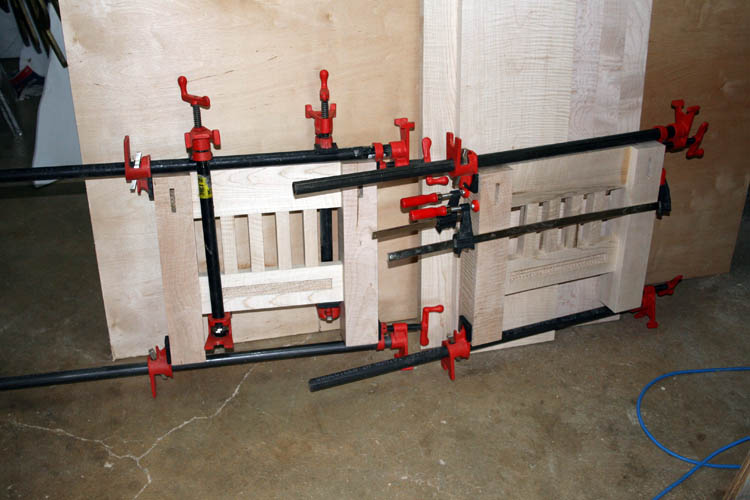
I will let the end pieces dry overnight and install wood dowels into the
mortise and tenon members which should make an extremely strong and
secure connection.
Web page updated by Bill aka Mickey Porter on 04-12-18.
WOOD DOWELS INSTALLED
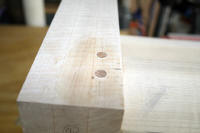
I installed 3/8 inch diameter Red Oak dowels into the connecting mortise
and tenon joints. I used a 3/8 inch diameter spur point drill bit in
the drill press and set the dress press quill travel stop to keep from drilling all
the way through the 3 inch diameter posts. The wood dowels were cut
2.5 inches in length and I sanded a few flat spots on each dowel to allow
air and excess glue to escape from the hole. Unless you have some
clearance or grooves cut into the dowels, You can not seat the dowel, it
will back out by the air pressure created from the tight fit. A
conservative amount of Titebond III Ultimate glue was brushed into the
drilled hole and onto the dowels. I have collars for some drill bits,
but they are not reliable and will slip. I have also used tape on the
drill bit, but again you have to be careful especially in soft woods with a
good sharp drill bit. I sanded the dowels flush with the leg members
and ready to glue to aprons to the legs. Click on thumbnail pixs for a
larger screen view:
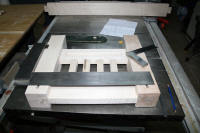
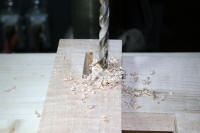
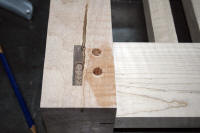
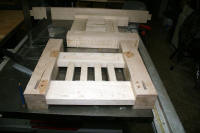
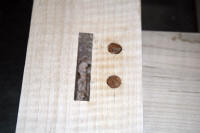
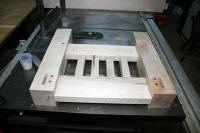
TABLE APRONS GLUED TO THE LEGS
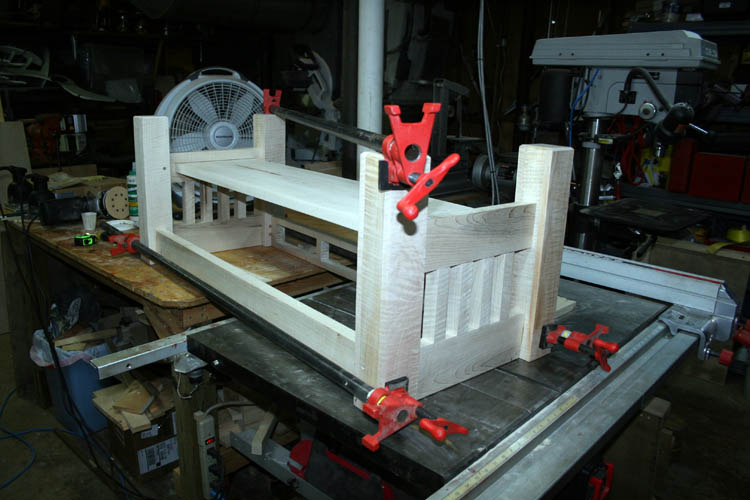
I rounded up three 5 feet pipe clamps and got everything ready to glue
the aprons to the legs. The lower shelf is
"free floating" in the mortise groove chiseled out.
Since end grain wood expands very little, I might countersink a screw in the
center of each end of the shelf and plug the hole with a dowel. This
would add additional strength and support to prevent any possibility of
longitudinal movement of the legs and aprons, but I doubt the mortise and
tenon would fail. I will think on that for a while.
Tomorrow morning, I will install Red Oak wood dowels into the mortise/tenon
connection between the aprons and the legs. I will use one of my
battery powered hand drills and use the drill stop collar and/or spacers on
the drill bit to keep from drilling all the way through the legs.
Web page updated by Bill aka Mickey Porter on 04-13-18.
INSTALLED DOWELS IN APRONS
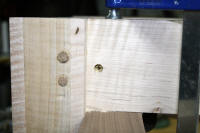
I used the DeWalt battery powered hand drill to drill holes for the
dowels into the aprons. Click on the thumbnail pixs for a larger
screen view:
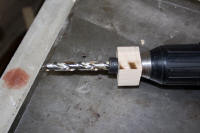
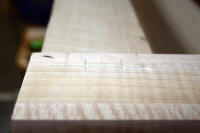
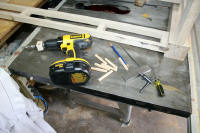
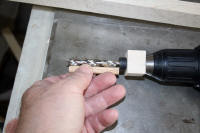
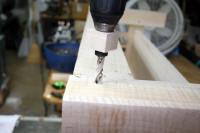
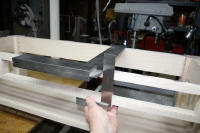
I drilled a 25/64 inch hole into a one inch square block of wood to
prevent the drill bit collar from slipping. With only one locking
screw on the collar, it can and will slip. I also did a layout for the
drawer support rails/guides and will complete those before I do the half
blind dovetails for all the corners of the drawers.
I also cleaned out the shelf under my table saw outfeed table which
doubles as a work table and an open storage shelf. I rearranged some
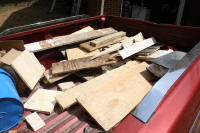
of my unallocated aka scrap curly maple hardwood and cut a partial sheet of
3/4 inch birch plywood and stored it under the work table too. My
friend Robert Webster in Hamlet, NC is going to come by and see if he can
use any of the hardwood scrap pieces for knife handles.
Web page updated by Bill aka Mickey Porter on 04-14-18.
ORBITAL SANDER HOOK AND LOOP PAD WORN OUT
While sanding the wood dowels flush with the legs, the sanding disc kept
flying off the hook and loop pad of the sander and the hook and loop pad appears to be worn
out. I ordered another hook and loop pad for the Bosch model 3725DEVS sander
off Amazon.com and
also a DeWalt model DWE6421K 5 inch orbital sander on 04-13-18 which should be here on
04-17-18. I went a little frugal on the orbital sander purchase and
"Most of the time, you get what you pay for!"
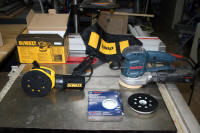
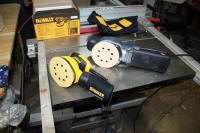
It didn't take but a couple minutes to replace the worn out hook and loop
pad on the Bosch sander. I tested out the DeWalt orbital sander and
very pleased with it. It vibrated much less than the Bosch and is
better suited for one handed operation. With the extra orbital sander,
I will use the Bosch with the coarser 80 grit sanding discs and use the
DeWalt for the finer 120 grit sanding discs before switching over to the Porter
Cable palm sanders with much fine grit paper; e.g., 150 and 220 grit.
NOTE: A couple years ago, the bolt that secures the hook and
loop pad broke off and had to
dissemble the Bosch orbital sander to
remove the portion that was still inside the main shaft of the motor.
I ordered a replacement 7MM bolt on line and the unit has vibrated more than
it did before the bolt broke. As stated above, the DeWalt DWE6421K
palm sander has much less vibration and does a faster sanding job than the
Bosch 3724DEVS.
Web page updated by Bill aka Mickey Porter on 04-17-18.
OLD SCHOOL DRAWER SUPPORTS AND DRAWERS
I took a day off from my curly maple coffee table project for our Church
services and to praise and honor our Lord Jesus Christ. I am thankful
for each and every day that He allows!
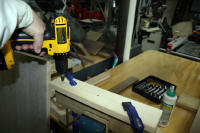
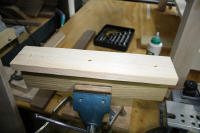
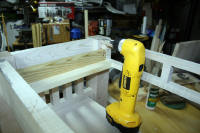
I cut and installed the drawer supports (runners) using glue and brass
flathead screws that were countersinked. Click on below thumbnail
pixs for a larger screen view:
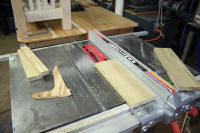
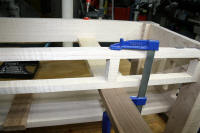
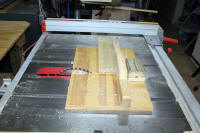
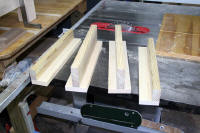
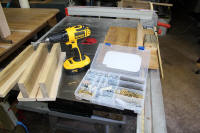
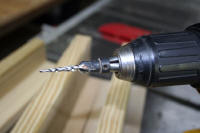
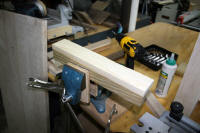
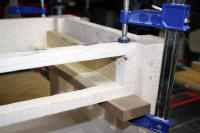
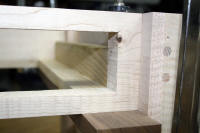
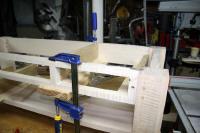
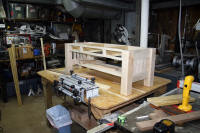
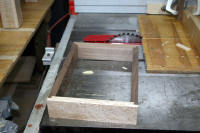
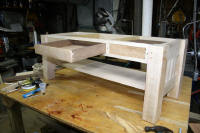
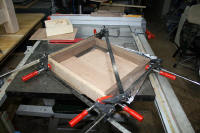
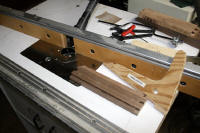
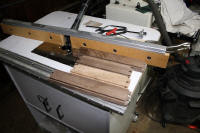
I used what scrap aka unallocated wood I had on hand and had some 1 inch
plus treated pine I used for the center supports and sides for the
drawer
supports/slides. I found some 3/4 x 4 inch white pine and worked great for
the lower support of the drawers which was the same thickness as the apron
lower portion with the cut out for the drawers. Hardwood would have
been better, but using what I have.
The right angle cordless drill was needed to attached screws into the
side drawer supports and then had to angle the screws some.
I used black walnut for the drawer sides and back and the drawers are
very robust like the rest of this curly maple coffee table. I might
nick name this one Big Foot or
Sasquatch since it would be appropriate
for his den or living room......grin if you must!
I have the two smaller drawers to get glued up if I can find enough scrap
7/32 inch thick paneling for the drawer bottoms and glue 3/8 inch Red Oak dowels
in the front and rear aprons to cover the size # 10 recessed brass flathead
screws. We have a trip planned to Rockingham, NC in the near future
and will visit Lowe's to purchase a 2 x 4 or 2 x 2 feet piece of paneling for
the drawer bottoms.
Web page updated by Bill aka Mickey Porter on 04-16-18.
DRAWER CONSTRUCTION COMPLETED
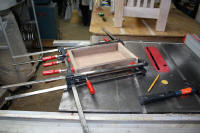
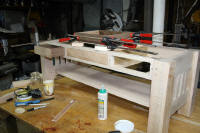
I found enough 7/32 inch paneling for the two smaller drawers and have
them in the clamps drying as I am typing. I also put 3/8 inch diameter
Red Oak dowels in the front and back aprons to cover the brass screws that
secure the drawer supports and guides to the main frame. I only needed
1/8 inch or less length dowel into the countersinked holes, therefore had to
make a small jig to hold the Red Oak dowels while I freehand cut them to
length. I used a piece of maple hardwood and drilled a 3/8 inch
diameter hole through it and then reamed it out with a .377 diameter drill
bit. I have tried cutting small portions of dowels off with the miter
saw, but you lose most of what you cut because the saw sends them flying in
all directions.
Click on thumbnails pixs for a larger screen view:
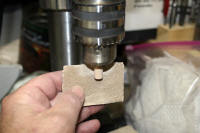
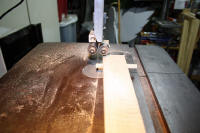
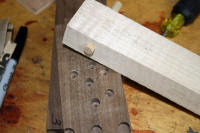
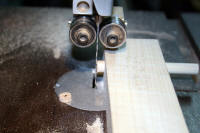
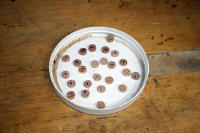
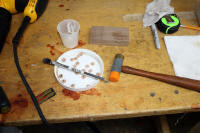
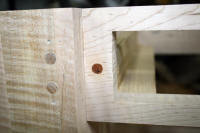
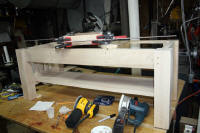
I sanded the outside diameter of the Red Oak dowels using the drill press
and sanding paper placing a slight taper on the end edge to help start them into
the countersinked holes. Since the drawer apron has a large amount of
wood removed for the three drawers, I didn't want to stress the wood with
too tight fitting dowels. I drilled several 3/8 inch diameter holes in
a piece of scrap black walnut to test fit the sanding operation. I used the
band saw to cut a thin sliver about 1/8 inch in thickness from the dowels. I marked
the tapered end with a black magic marker. I removed the burr left
from the band saw on the remaining portion of the dowel in the jig and
marked the end each time prior to band sawing a thin sliver. I had a
couple wood dowel slivers go flying onto the floor and one or two flipped into my
left shirt pocket, but
didn't loose any.
Tomorrow, I will sand all three drawers and think about what type of
drawer pulls I want to install. I had planned to use the black cast
traditional rectangular Mission style drawer pulls, but all I have been able
to locate so far via the internet that I liked were too large in height. The
drawer height is a little less than 2.5 inches and the smallest Mission
style drawer pull was 2 inches in height which is too large for eye appeal
in my humble opinion. I might fabricate a simple drawer pull using
black walnut with a lip routed underneath just large enough for a finger
hold.
Web page updated by Bill aka Mickey Porter on 04-17-18.
SANDING DRAWERS
I am getting a little earlier start this morning having finished my daily
morning Bible reading and study which lasts for about an hour or more.
While reading God's Holy Word, a Whippoorwill was singing close by before
daylight and is a sign that Spring is here. However this year, the
weather has been much colder than in the past with the temperature around
the mid 30's or lower yesterday morning. Every few years, it seems we
go directly from Winter to Summer bypassing Spring, weather wise that is.
I will remove the clamps from the two drawers glued up yesterday
afternoon and got them sanded to 220 grit and progress to 320 grit. I
will countersink a brass flat head screw into each end apron in the center of the lower shelf to
prevent any possible movement of the legs. The mortise slot is
slightly oversize to allow for width expansion and has a little end
clearance too.
A few wood brackets (hangers) will be glued to the upper aprons for
attachment of the table top. A center hole in each bracket will be elongated
for width expansion of the table top.
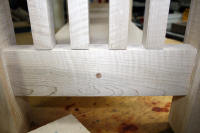
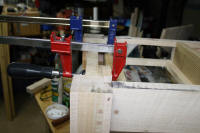
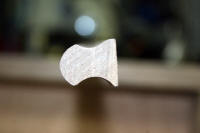
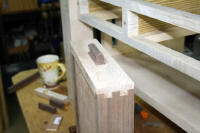
I had some left over custom made black walnut trim from my
custom keepsake box
construction and modified a piece to make simple drawer pulls. I used
two different router bits to complete the drawer pulls and cut the ones for
the narrow outer drawers to 2.5 inches and 3 inches for the middle drawer.
The black walnut should make a good contrast between the Birdseye Maple even with
a universal walnut stain I plan to apply to the entire coffee table.
I glued the end table top supports (hangers) for the table top to the end
aprons and didn't have enough room to use other clamps for the supports
(hangers) attached to the front and back aprons. Those will be glued
in place tomorrow, the Lord willing of course.
I didn't get too much done today and have a few errands to complete.
With retirement, I try not to get in too big a hurry......grin if you must!
Web page updated by Bill aka Mickey Porter on 04-18-18.
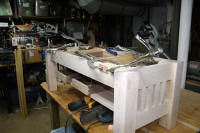
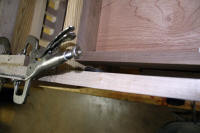
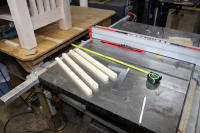
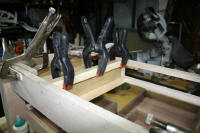
ADDED DRAWER UPPER GUIDES
After sanding the three drawers, I decided to add an upper guide rail for
each drawer side to keep the drawer level when pulling it out from the
coffee table and prevent extra wear on the lower apron at each drawer side. I also added rear stops to the center drawer to keep it
from going past flush with the front apron. I could have made the
drawer an exact fit length wise, but didn't think that far ahead since there
is no diagram made for this coffee table and didn't have the half blind dovetails
locked firmly into the ole memory bank as to the exact length of the drawer
side members taking into account of the placement of the half blind
dovetails. I am working mostly from a
couple pictures captured off the internet of Mission style coffee tables.
I have a copyrighted drawing for a Mission style coffee, end and sofa table,
but wasn't that impressed with it and using it more or less as a reference
and not as a chiseled in stone guide.
I found out quickly that I do not
own enough small clamps for a
project like this one and will take a couple more days to do the glue up for
the guide rails, table top support brackets, etc. I could have used
screws and/or brad nails with the pneumatic nailer, but the Titebond
Ultimate III glue is stronger than the wood itself and is very water and
moisture resistant too! Click on the thumbnail pixs below for a larger
screen view.
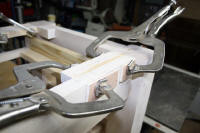
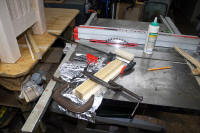
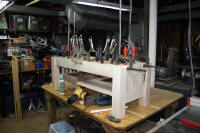
After ten (10) hours +-, I removed the clamps and glued the balance of
the drawer guides (except one) and the remaining two center table top
support brackets in place. I only have one drawer guide left to glue
in tomorrow, the Lord willing of course. I will glue a couple drawer
stops in place for the small drawers and that should complete all the
construction phase of this project and get back onto the final sanding of
the top, drawers and the frame components.
Around 9:30 PM. I removed three clamps from one of the drawer guides and
clamped the remaining drawer guide in place. Prior to this, I pulled a
test piece of wood that was glued together under pressure for 3 plus hours
and the glue line didn't fail, however the wood pulled apart on both sides
of the glue line. I have done this test in the past, but usually after
8 hours of clamp time and the same results being; the Titebond Ultimate III
glue is stronger than the wood itself.
It is easy to understand why metal drawer slides aka supports are used
since it only takes a few screws to secure them in place. However, I
enjoyed the old-school method of drawer construction, but did depart from
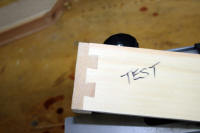
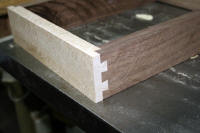
the traditional way of cutting the half blind dovetails with a back saw,
coping saw and chisels and
used the Porter-Cable model 4216 dovetailing jig. Even with the jig, there is a
learning curve as with most things.
Web published update by Bill aka Mickey Porter on 04-19-18.
CONSTRUCTION PHASE COMPLETED
I finished up the construction phase for this project this afternoon and
got some sanding in on all the components; e.g., top, drawers and the main
frame. The black walnut drawer pulls I fabricated from left over
molding as mentioned earlier, I went ahead and installed them, however I will
remove them prior to staining and will leave them finished natural. Click on
the below thumbnail pixs for a larger screen view:
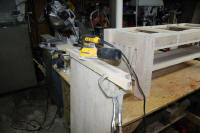
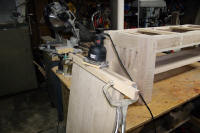

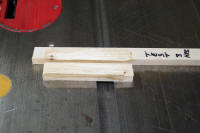
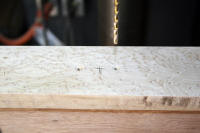
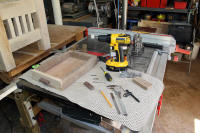
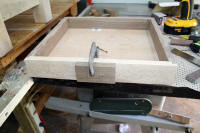
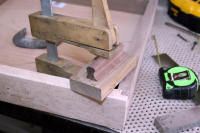
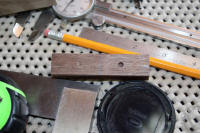
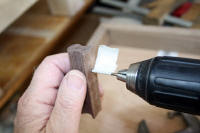
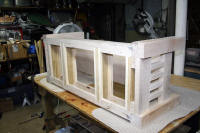
Installing the drawer pull was a little tricky since the drawer height
would not allow me to use either my regular drill or a right angle drill to
get a reference for pre-drilling the walnut drawer pulls from the inside of
the drawer. I made a
simple wood jig to locate the holes for the following two drawers and free
hand drilled the holes in the drawer pulls to accept a 1.250 inch drywall
screw.
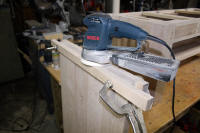
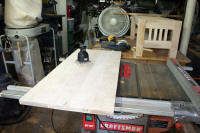
To prevent from rounding over the edges of the table top while sanding, I
clamped a piece of of scrap stock from the initial cutting of the table top
boards which gave me more real estate for the orbital sanders and the palm
sander. I also supported the table top off the floor about 18 inches
using some scrap wood and clamps which brought the side of the table top up
high enough to work more efficiently without bending over.
I plan to go over the entire table and slightly round over the sharp
edges off the corners of everything, but not so much to take away from the
Mission style look which has pretty sharp well defined edges. On other
styles of coffee tables, etc., you would round over the edges using a router
bit.
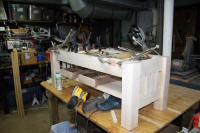
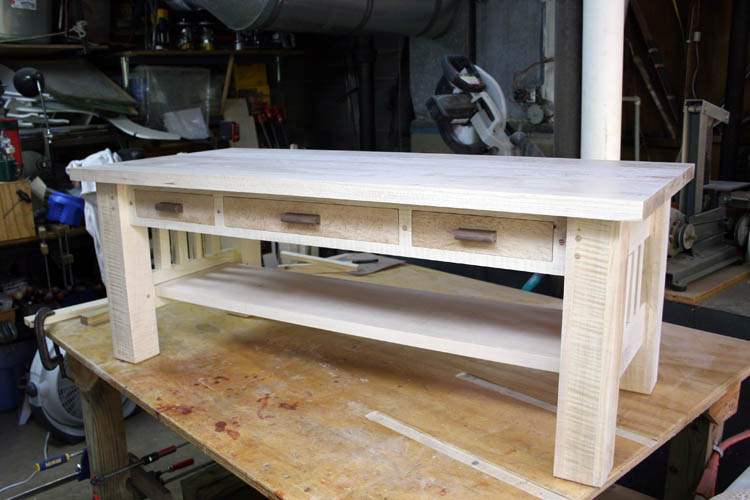
Below is pix of the curly maple coffee table in the white:
Web page updated by Bill aka Mickey Porter on 04-20-18.
SANDING & TEST STAIN
I had a good leisure day and got some sanding in on the frame, top and
drawers and used the Porter-Cable palm sander with 320 grit wet/dry paper.
Depending on the weather next week, I will apply a light application of
medium brown walnut alcohol based stain, product name Behlen Master
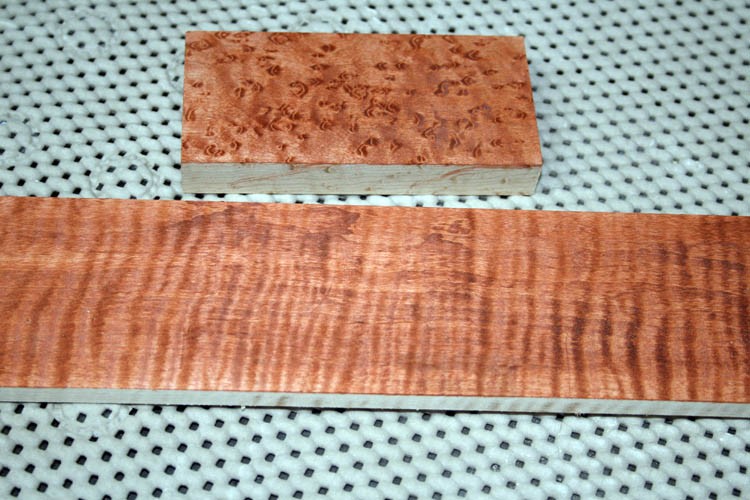
Solar-Lux, which is non-grain raising. I did a stain test sample on some
scrap from the Curly Maple legs and the Birdseye Maple from the drawers which did highlight the grain
very well,
even though the samples below were not sanded smooth.
Curly maple is not a species of maple, but a description of the wood
grain pattern. Alternate names for curly maple are; tiger, flamed and
fiddle back. Furniture manufacturers years ago, would cull the curly
maple due to the way it accepts stain, however this has been a staple wood
in the musical instrument industry for centuries due to its tonal qualities
and the beautiful grain pattern. I used curly maple on my custom made
resophonic
aka Dobro guitar.
Web page updated by Bill aka Mickey Porter on 04-21-18.
THINKING OUT LOUD
I have an ebony and mother of pearl medallion I made for my bride back in
the mid 1970s of which she hasn't worn in decades and was thinking
about inlaying the medallion in the front apron of the curly maple coffee
table to give it a more personal touch. The medallion is between 1.680
and 1.640 inches in diameter and already has heavy coats of nitrocellulose
lacquer applied to it. The mother of pearl was cut with a jewelers saw
blade, probably a size # 4 and inlaid in the pre-war Gibson
style with
cutting all the way through the ebony wood and back filled with epoxy and
carbon black. The diameter was also cut free hand, therefore it is
around .040 inches out of round as per my dial caliper. This was long
before the invention of the CNC machines and still looks great for free hand
work.
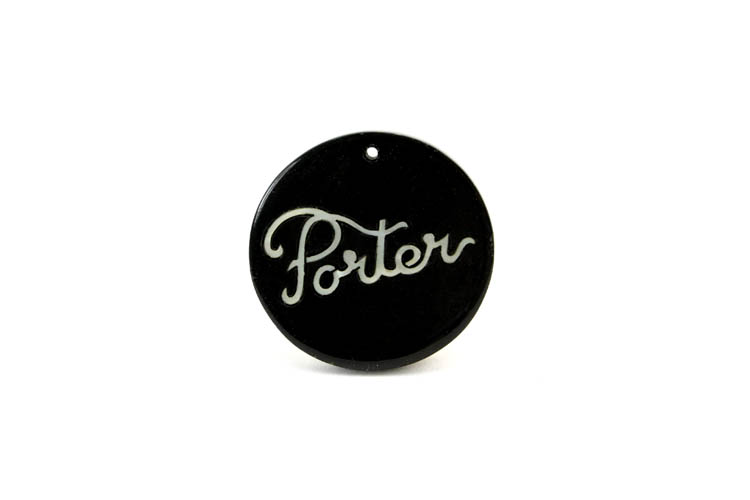
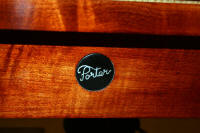
The script Porter logo (copyrighted)
has been used in/on most of my small business endeavors, business checks,
business cards, stationary and envelopes, musical instruments, hunting deer
stands labels, banner page for this website, etc. Below is a pix of
the ebony and mother of pearl medallion:
I don't know the thickness of the mother of pearl script Porter,
therefore if I do decide to inlay it on the front apron, I will inlay the
entire medallion below the surface of the apron and not do any sanding to
it.
Below is a pix of my
bride wearing the above medallion in the mid 1970s:

I got a few extra heart beats just from posting this pix......grin if you
must! A beautiful woman and still the love of my life after 50 years
of marriage!
One of my friends must be getting older than I am, even though his birth
certificate date reveals he is not close to being a senior citizen yet!
He spotted the antique toy tractor immediately in the background and
commented on its would be value today. I told him that his wife must
have mule
blinders on him, another grin is in order.
He might need to upgrade his medications.
PINK ELEPHANT
The pull trailer in the background was nicknamed the
"Pink Elephant" by the folks that
worked for the North Carolina Telephone Company. I obtained the
trailer by sealed bid for 200 bucks before 1972 while I was still working in
Marshville, NC. The trailer was purchased by the NC Telephone Company
for pulling to local events and had a bank of coin operated telephones that
was accessed by having the side panels raised and locked into position.
The story goes that the only money that was ever placed in the coin operated
telephones at one of the local horse shows was from a drunk who thought it was a cigarette
machine.............grin if you must! I believe the telephone company
paid 2500 dollars for the custom built trailer, but could be wrong on the
amount. It was solid as the Rock of Gibraltar!
I had High's Welding Shop in Marshville, NC replace the single axle with
dual axle wheels and believe I paid them 350 dollars since they had to
enlarge the inside wheel wells of the unit. I used it as a storage
building versus what it was designed to do.
I traded it to
Jim Yarboro of Gun Barrel City, Texas after I closed my
musical parts mail order business in 1978. Jim Yarboro said that was
one super heavy trailer and it heated the engine of his 1975 Ford van he used to
pull it to Texas. He planned to use it at Bluegrass Festivals to
display and sell his musical instruments and accessories, but ended up
trading it off for another utility trailer much easier to pull if memory is correct.
MEDALLION INLAY
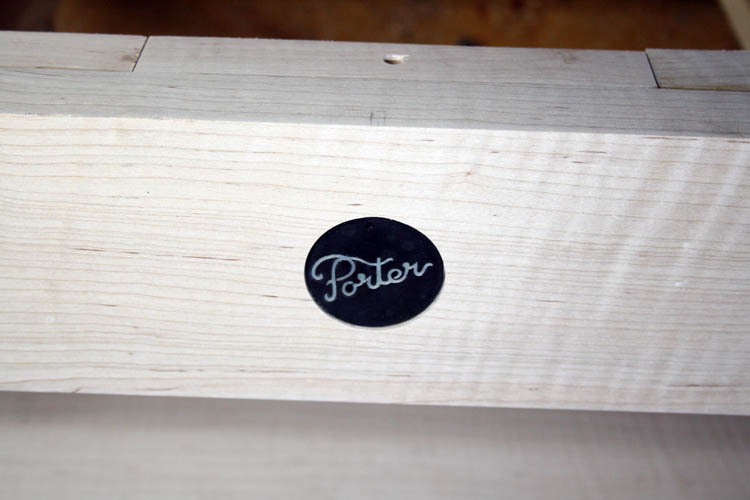
I decided to definitely inlay the medallion in the front apron of the
coffee table and glued a length of 1/2 inch diameter poplar dowel rod to the
backside of the medallion for attachment in the drill press chuck. I
used some 60 grit sandpaper attached to a block of wood and ground the
diameter of the medallion down to less than 1.625 inches. I didn't
want to free hand route the cavity for the medallion or construct a jig for
using the router and guide bushing, therefore ordered a 1.625 diameter Freud
Forstner drill bit off EBay. When the drill bit arrives, I will drill
through a piece of 1 inch or thicker hard wood to use as a guide for the
drill bit and clamp the hardwood guide to the front apron since I will be
using a hand drill. This will reduce the possibility of tear out and
should get a good clean cavity excavated out for the medallion. I will
devise some type of stop on the drill bit to keep from drilling too deep in
the front apron, although it will not be too critical since I plan to have
the medallion below flush with the front apron.
Again, I got real antsy
waiting on the drill bit to arrive and the company shipped it by FedEx which
is fast, but they used FedEx Smart Mail for the final delivery from
Charlotte, NC which is slow as a snail in my humble opinion.
Therefore, I
changed horses in the middle of the stream and built a
router jig for using a guide bushing to excavate a cavity for the medallion.
I only have three sets of guide bushings and a few large diameter drill bits
and/or hole saws and had to improvise to get as close to the 1.625 inch
diameter cavity needed.
NOTE: It is imperative that you center your guide bushing to
your router sub base plate, of which most router guide bushings come with an
alignment tool that you secure in the router chuck collet. Loosen the sub base mounting
screws and align the sub base plate with the centering tool and then tighten
the sub base mounting screws and you are ready to go.
The rule of thumb when using a router guide bushing; To figure the
offset, measure the outside diameter (OD) of the guide bushing tube and
subtract the diameter of the bit. Next, divide this figure by 2 to
determine the offset. The closest I could come was using a 1.850
diameter hole saw and gluing a piece of .040 inch thick celluloid guitar
trim to the inside diameter of the drilled hole in the 3/16 inch thick
pattern material I used which gave me a routed hole diameter of 1.640 inches
for the 1.625 inch diameter medallion. Click on the below
thumbnail pixs for a larger screen view:
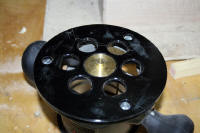
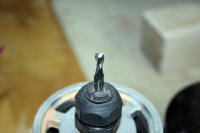
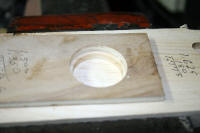
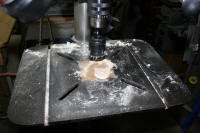
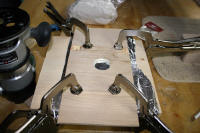
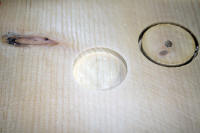
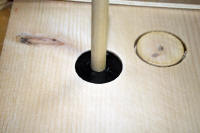
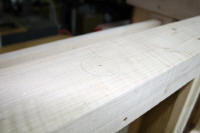
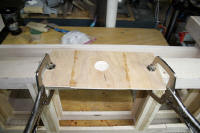
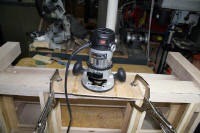
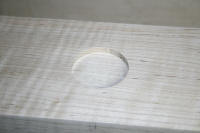
I tested the jig out on a piece of scrap pine before committing to the
maple apron. As luck would have it, the 1.625 inch diameter Forstner
drill bit arrived around mid-day, after the inlay was dry fitted in the
apron. I didn't mind, because I enjoy building jigs and fixtures when
it is necessary. As they say, "I jumped the gun on this one" and
should have stayed on the same horse in the middle of the stream!
Web page updated by Bill aka Mickey Porter on 04-27-18.
The weather is currently not conducive to do any staining today because
of a drizzling rain, therefore will kick back and take a few days off from
this project since the weather prognosticators have forecast 1 to 3 inches
of rain over the next couple of days.
A FEW ODDS AND ENDS
Well, I couldn't kick back today; too antsy,
therefore I aligned the table top to the aprons securing in place with a
couple clamps. I used a locator punch through the holes drilled in the
hanger brackets and tapped the punch with a hammer to transfer a witness
mark to the underside of the table top. On the end hanger brackets, I
had to use a mirror to get the transfer punch into the drilled hole since
the hanger bracket was between the end apron and the drawer shelf support
guide rail. Once the witness marks were made and I verified them on
the underside of the table top, I went ahead and elongated the holes in the
hanger brackets for table top width expansion.
I then drilled ten (10) 5/32 inch diameter holes in the table top about
1/2 inch deep for the body size of the hex head sheet metal screws I am using to
secure the top to the aprons. The end apron hanger brackets are 1.125
inches thick and a 2 inch length hex head sheet metal screw will work fine
for them. The front and back apron hanger brackets are 3/4 inch thick and will
use 1.5 inch length screws on them.
On my to do list, is getting
my crosscut and rip saw blades sharpened. The hard curly maple has
taken a toll on them and are dulled a good amount which is a safety hazard.
A dull saw blade requires more force to be applied to the work piece and if
a mishap did happen, you increase the likelihood of a much more serious
injury by the extra force exerted. I think they have been sharpened two times already and this
will probably be the last time since you reduce the width of the carbide
teeth a little each time with sharpening them. Most of my fixtures for
the table saw was built using the original width saw blade and for zero
clearance cut, that width needs to be maintained for maximum performance.
STAINING AND FINISHING
I have several woodworking projects; e.g.,
potato and
onion storage bin,
finishing, where I detail with pixs the method of staining and
finishing that I utilize, therefore I do not want to reinvent the wheel with
redundancy, but will add a few pixs along.
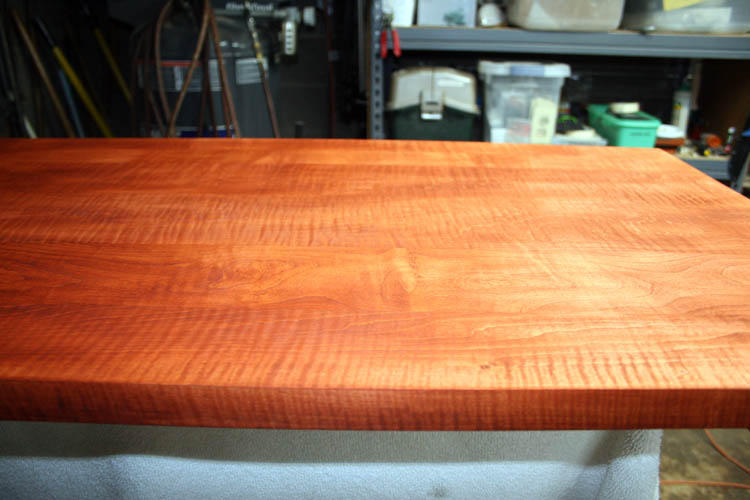
I applied a thin coat of light walnut stain with a rag to the table top and the grain is
beginning to manifest itself:
I stained the underside perimeter of the table top and when the top is
dry, will go back and stain the balance, even though it will not be seen
from the underside when
the drawers are in place. I will do that after I stain the entire
coffee table and drawer fronts in case I don't have enough stain, although I
believe I do have enough for this project.
I used the
rotating fixture made for finishing the banjo
resonator and
screwed a large piece of pine to it for extra support of the table top.
Web page updated by Bill aka Mickey Porter on 04-23-18 and 04-25-18.
STAINING CONTINUED
I stained the coffee table carcass aka frame this afternoon and stained
the balance of the underside of the table top.
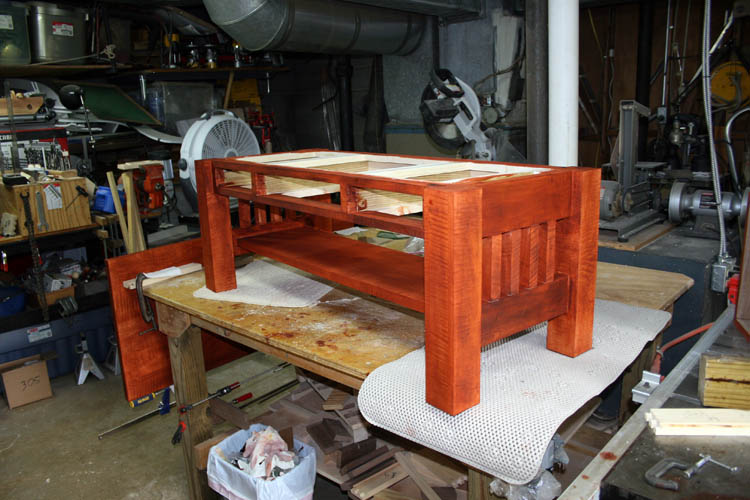
Next week, the Lord willing of course and if the humidity is below 50
percent, I will spray a coat of sanding sealer on the frame, table top and
drawers and let it cure out a few days before scuffing it down with a
Scotchbrite green pad or 320 or 400 grit sandpaper.
Web page updated by Bill aka Mickey Porter on 04-27-18.
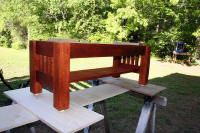
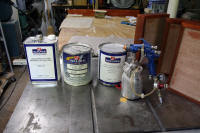
SANDING SEALER APPLIED
My woodworking shop is not conducive size wise or has any type of
dedicated exhaust system for removing harmful
VOC compounds, therefore my
spraying takes place outside the basement shop door.
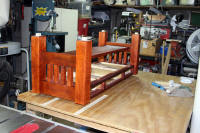
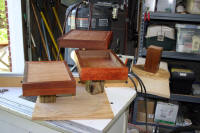
I had to add some standoffs underneath the legs of the frame aka carcass
to allow the sealer and/or lacquer to cover the lower portion of the legs.
Also, a strip of wood was temporarily added to the top of the frame for the
same purpose to elevate the aprons and legs from off the surface used to
support the frame while the sealer and finish is applied. Click on the
thumbnails for a larger screen view:
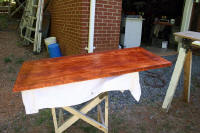
I rigged up a couple saw horses and screwed a
jig I used to rip the edges
of the curly maple used for the table top after removing the toggles clamps
and spacer blocks. I added a couple pieces of scrap wood to each end
and screwed and/or nailed the sandwiched layer to the cross member of the saw horses.
I used a smoking sausage rack with wood and a towel to support the table
top. I had to allow the sanding sealer to dry before handing the
components of the coffee table since the each member has to be rotated aka
flipped over 180 degrees to complete the spraying process. I might not
flip the frame aka carcass over after I apply the first few coats of lacquer
since you will not see the bottom of the shelf anyway.
Tomorrow, the Lord willing of course and the weather is warm and not too
humid, I will lightly sand the components down and start spraying a few
thin coats of lacquer each day until I get a decent build up of finish. After
three coats which will be thinned down about 25 percent with the lacquer reducer,
I will gently sand the finish level after curing out a few days and hopefully not
sand into the stain.
Web page updated by Bill aka Mickey Porter on 04-30-18.
FIRST COATS OF LACQUER APPLIED
I used a green Scotchbrite scouring pad and sanded the sanding sealer
down, wiped down the sanding sealer dust and sprayed a couple coats of
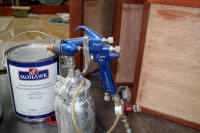
lacquer on all the components of the coffee table. I reduced the
lacquer by 25 percent and used about 7/8 of a quart in my pressurized C. A.
Technologies Lynx L300H spray gun. I had the input air setting between
45 to 50 psi and around 8 pounds on the pressurized material container.
The HVLP (high volume low pressure) spray gun keeps the overspray
down to a minimum and you don't waste much material either. I have a
couple different size tips and needles for the Lynx 300H and used the 1.3mm
(.055) nozzle tip and needle which works well with the heaver viscosity
sanding sealer and the thinner lacquer too. Per the manufacturer, the
vinyl sealer is not to be thinned.
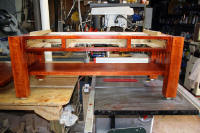
Lugging the coffee table carcass and the table top outside to position
for spraying is a workout for sure. I should have fabricated a
moveable cart, but extra real estate is a premium in my basement woodworking
shop. Click on the below thumbnail pixs for a larger screen view:

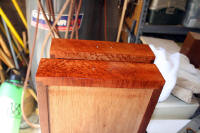
I ordered a gallon of the Mohawk musical instrument grade lacquer which
should be delivered in a couple days. I have less than a quart of
lacquer on hand and will let what I just sprayed cure out before I lightly
sand it down.
After receiving the lacquer, I applied several coats of lacquer and
lightly sanded the top with 320 grit paper to knock the high spots down.
Web page updated by Bill aka Mickey Porter on 05-01-18 and 05-19-18.
BACK FROM CALIFORNIA
I put the finishing on hold until we got back from a
visit
with our Son and his family in Vista, CA. I lightly sanded the table
top down with 320 grit paper using one of my Porter-Cable Speed Bloc sanders, buffed it with a Scotchbrite pad and 0000
steel wool and the finish is fairly level without very noticeable orange peel. The
top has some dings in it from the wood supplier, but they were too deep to
try and sand out.
The weather is not conducive to spray additional coats of lacquer on it
until the middle of next week as per the weather prognosticators with rain
in the forecast until the middle of the week or later. This will give
me some time to research buffing pads for my orbital sander, whereas the
table top is far too large and heavy to attempt to buff and polish out using
my arbor buffing
wheels and stick buffing compounds.
Web paged updated by Bill aka Mickey Porter on 05-19-18.
FINISHED THE COFFEE TABLE
I decided not to spray any more lacquer on the coffee table, whereas it
has rained about every day since we returned from California on the 15th.
I buffed/polished
the table top using a variety of products using my two orbital DA sanders
and finished with Meguiars Ultimate 7 Compound. To obtain a musical
grade and/or piano type finish, it would take another 8 to 12 coats of
lacquer to get a build up of finish before wet sanding to 2000 grit and then
buffing/polishing. The finish as is looks fine, but I have done better. I have too keep
reminding myself that I am not building a musical instrument, but furniture
instead!
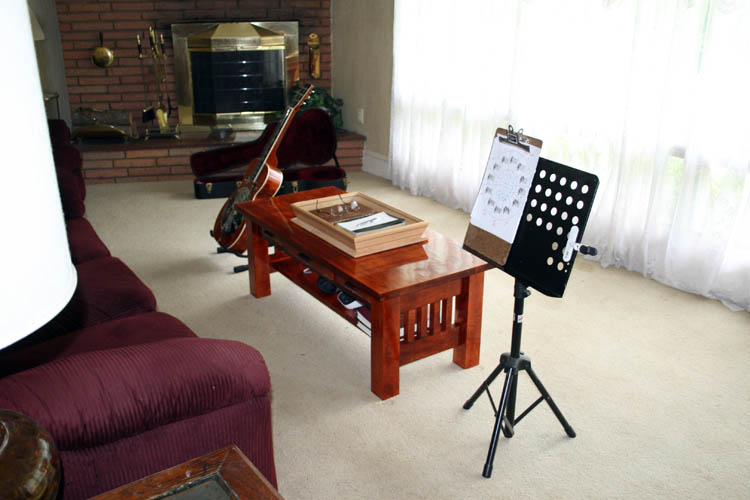
Below is pixs of the curly maple coffee table in our living room with a
curly maple serving tray on top of it.

With the back light from the windows, it was hard to get the picture I
was aiming for, but this will have to do for now. Some of the curly
maple on the side of the top and the bird's eye maple on the drawer fronts
came through fairly well.

Click on thumbnail pixs for a larger screen view:
This has been a fun project, learned some new things along the way;
especially the half blind dovetail drawers and as stated much earlier, used
old school techniques for the drawer guides, etc.
One of my music friends stated it need a vise on it......grin if you
must! I told him, the table would only work for a vertically
challenged person if he used it for a work bench, of which he was implying.
My next project will be matching Mission style
end tables
to match the coffee table.
Web published update by Bill aka Mickey Porter on 05-24-18.
INSTALLED CORRECT DRAWER PULLS
I finally found the correct size and mission style drawer
pulls for the end tables and coffee table from a dealer in Florida via the
internet.
I received the drawer pulls on 05-20-19 and after marking
and locating two holes for the hardware, I realized it would be easier to
make a simple wood drill template to clamp onto the face of the drawer for
the 9/64 inch diameter holes.
THUMBNAIL PIXS
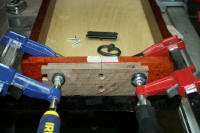
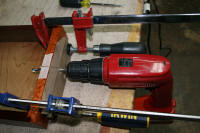
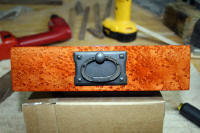
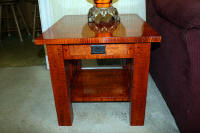
The mission style drawer pulls really adds to the overall
look and spirit of the mission style end tables and coffee table.
Web page updated by Bill aka Mickey Porter on 05-21-19.
LEAVING ON A
SPIRITUAL NOTE
If you do not know Jesus Christ as your Lord and Savior, please take
this moment to accept him by Faith into your Life, whereby Salvation
will be attained.
Ephesians 2:8 - 2:9 8 For by grace are ye saved through
faith; and that not of yourselves: [it is] the gift of God: 9 Not of
works, lest any man should boast.
Hebrews 11:1 “Now faith is the substance of things hoped for,
the evidence of things not seen.”
Romans 10:17 “So then faith cometh by hearing, and hearing by
the word of God.”
Open this
link about faith in the King James
Bible.
Romans 10:9 “That if thou shalt confess with thy mouth the
Lord Jesus, and shalt believe in thine heart that God hath raised him
from the dead, thou shalt be saved.”
Open this
link of Bible Verses About Salvation,
King James Version Bible (KJV).
Hebrews 4:12 “For the word of God is quick, and powerful, and
sharper than any two edged sword, piercing even to the dividing asunder
of soul and spirit, and of the joints and marrow, and is a discerner of
the thoughts and intents of the heart.”
Romans 6:23 “For the wages of sin is death; but the gift of
God is eternal life through Jesus Christ our Lord.”
Romans 3:23 “For all have sinned, and come short of the glory
of God;”
Micah 6:8 “He hath shewed thee, O man, what is good; and what
doth the LORD require of thee, but to do justly, and to love mercy, and
to walk humbly with thy God?”
Philippians 4:13 "I can do all things through Christ which
strengtheneth me."


